8 Simple Steps to Build A Chicken Run!
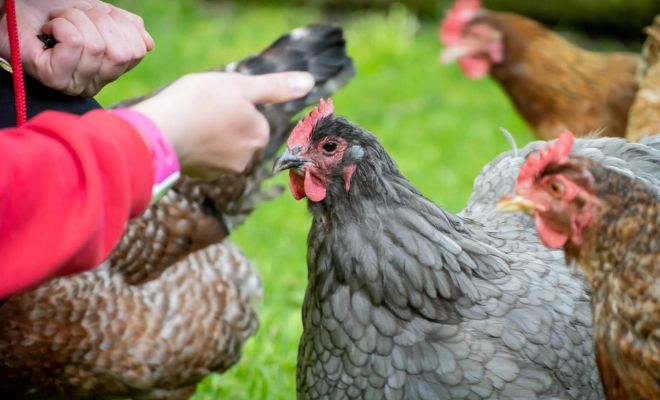
Are you eager to give your poultries a safe and spacious outdoor space like a chicken run? Building a chicken run is a rewarding endeavor for them!
But How to Build A Chicken Run? Firstly, grab your tools, and take time to map out the dimensions and location of your chicken run. Consider factors such as available space, sunlight exposure, and proximity to predators. Depending on the size and design of your chicken run, you’ll need different items. For example – sturdy fencing material, posts, wire mesh, and a gate for easy access.
By the end of this guide, you’ll have a beautiful and practical chicken run. To get the complete guide, read further!
Table of Contents
How to Build A Chicken Run: A Step-by-Step Guide

Building a chicken run is an exciting project that gives your chickens a safe outdoor space. Thinking how can you make it? Well, you’re just one step behind the guidelines! Follow these steps:
Step 1. Gather Materials
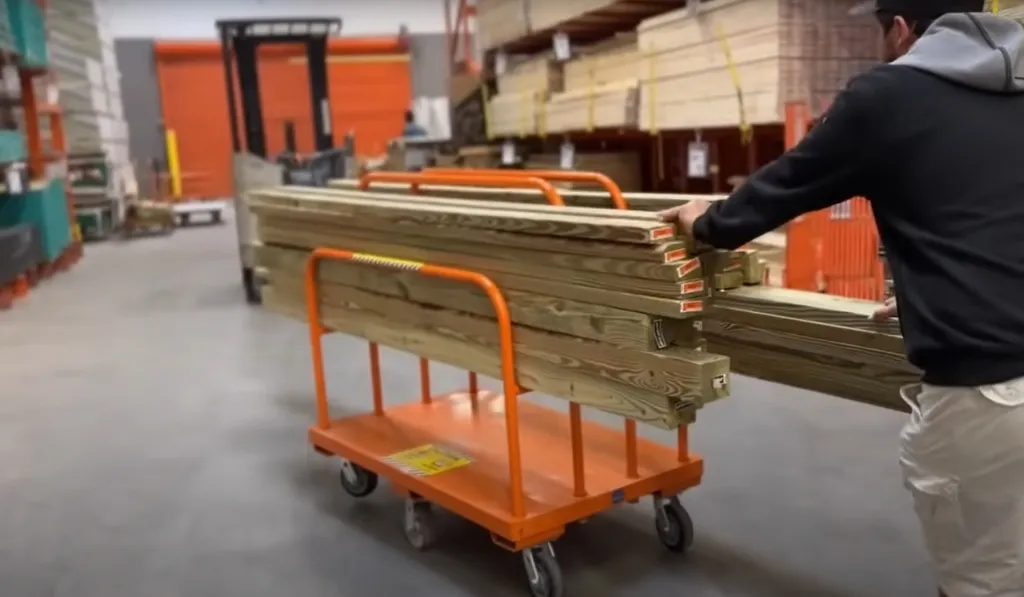
Make a comprehensive list of all the materials you’ll need. Here’s a list of things you’ll need –
- Cedar or pressure-treated pine.
- Choose a sturdy wire mesh made of galvanized or coated wire.
- Posts to secure the frame and mesh
- Hardware like nails, screws, hinges, and locks.
- Hammer, saw, wire cutters, and post-hole digger.
Having all these materials on hand before starting will make the construction process much smoother.
Step 2. Choose the Location
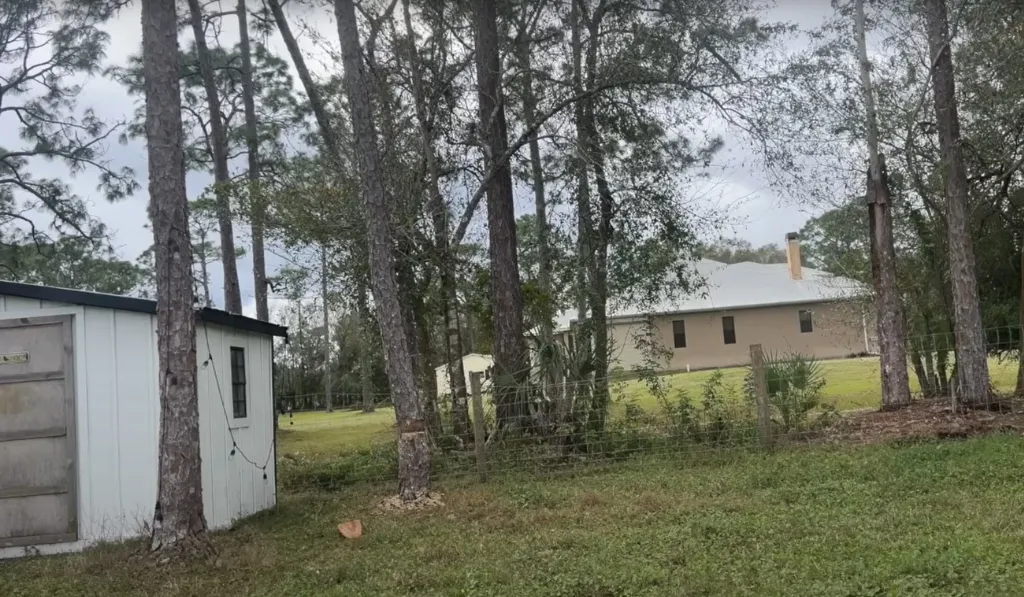
Carefully consider the location for your chicken run.
Ideally, it should be close to the chicken coop for easy access but far enough away to avoid odors or noise. Look for a level spot that gets ample sunlight throughout the day and has good drainage to prevent muddy conditions near the run.
Avoid low-lying areas that could flood. The location should also be easily accessible for you to clean and maintain the run regularly.
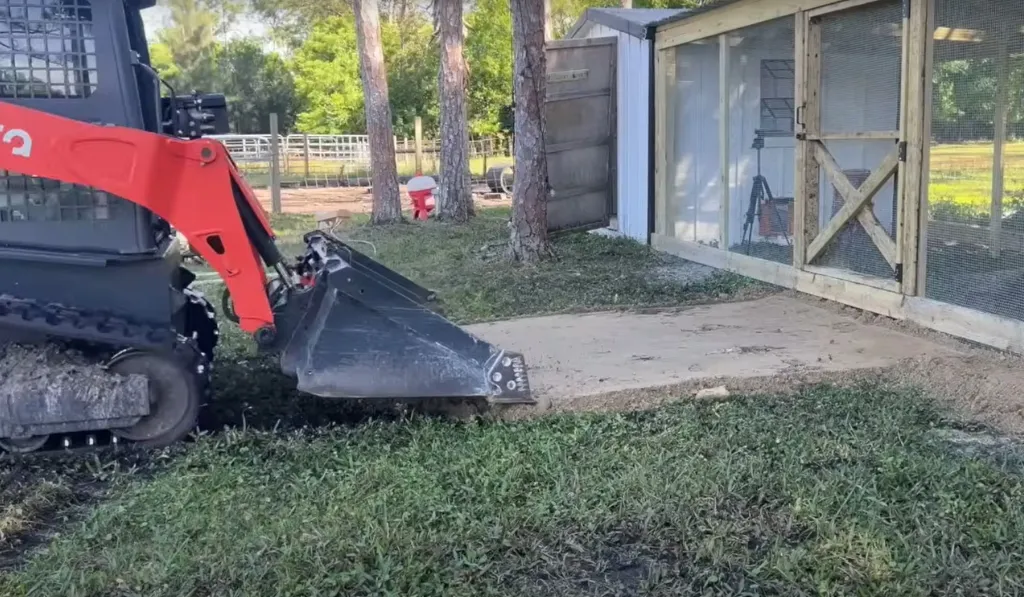
Step 3. Prepare the Site
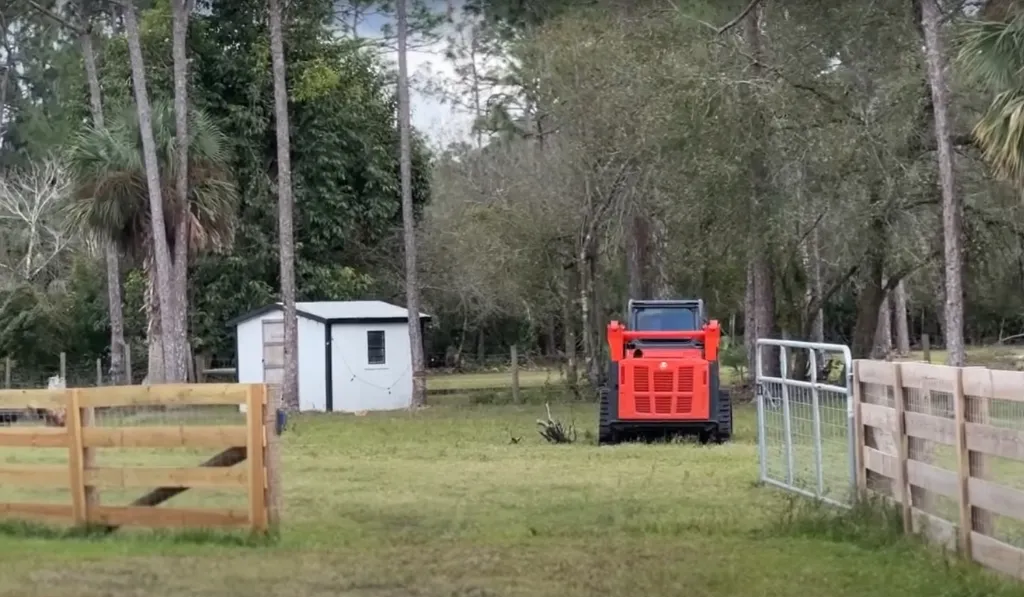
Once you’ve chosen the location, clear the area of any plants, rocks, or debris. Use a shovel or tiller to level the ground where the run will be built. Clearly mark the boundaries of the run using stakes, spray paint, or string to guide your construction.
To prevent predators from digging under the run, plan to bury a portion of the wire mesh fence around the perimeter. You can dig a trench and bury the bottom few inches of the mesh.
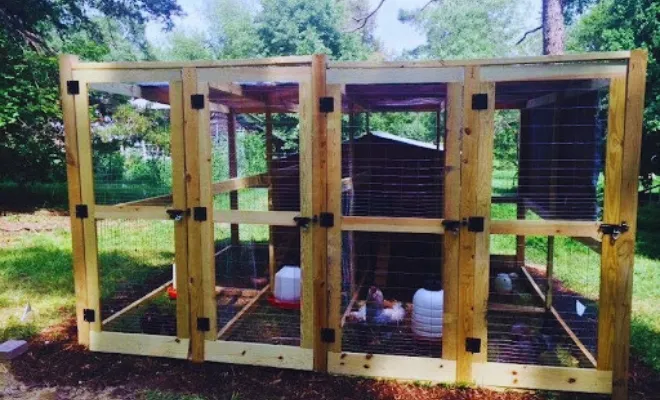
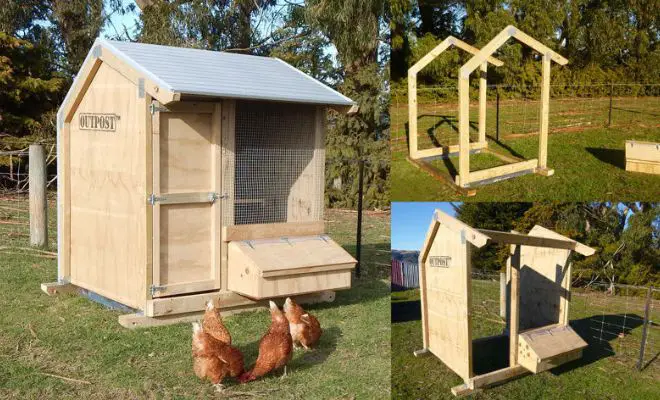
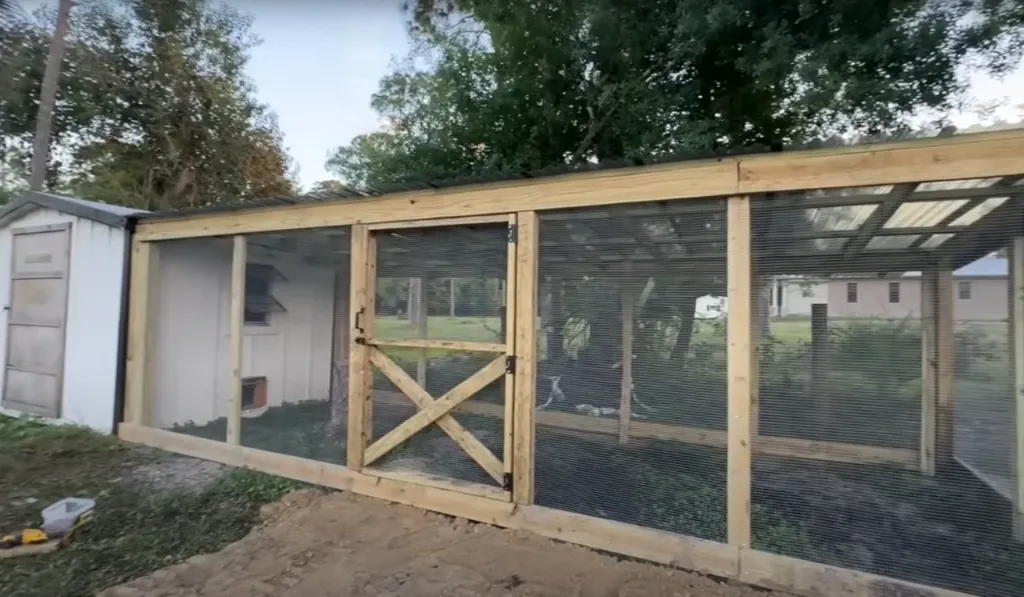
Step 4. Build the Frame
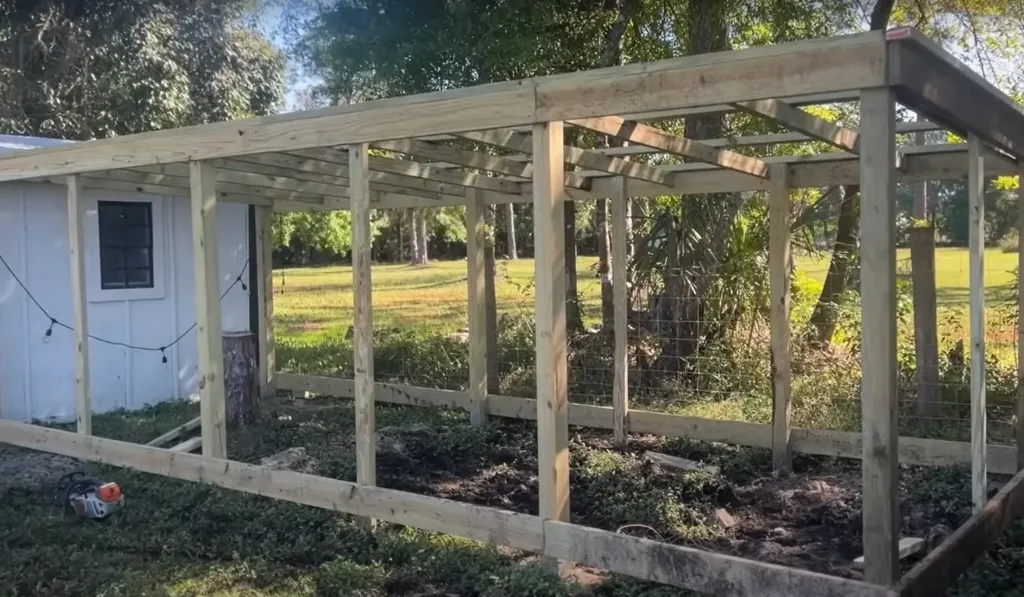
Start by constructing a sturdy frame for your chicken run. For this, use weather-resistant lumber like cedar or pressure-treated pine. Measure and cut the boards to the desired size and shape for the frame.
Now, securely join the posts and beams together using exterior-grade screws or galvanized nails. Make sure the frame is level and square.
Step 5. Install the Wire Mesh
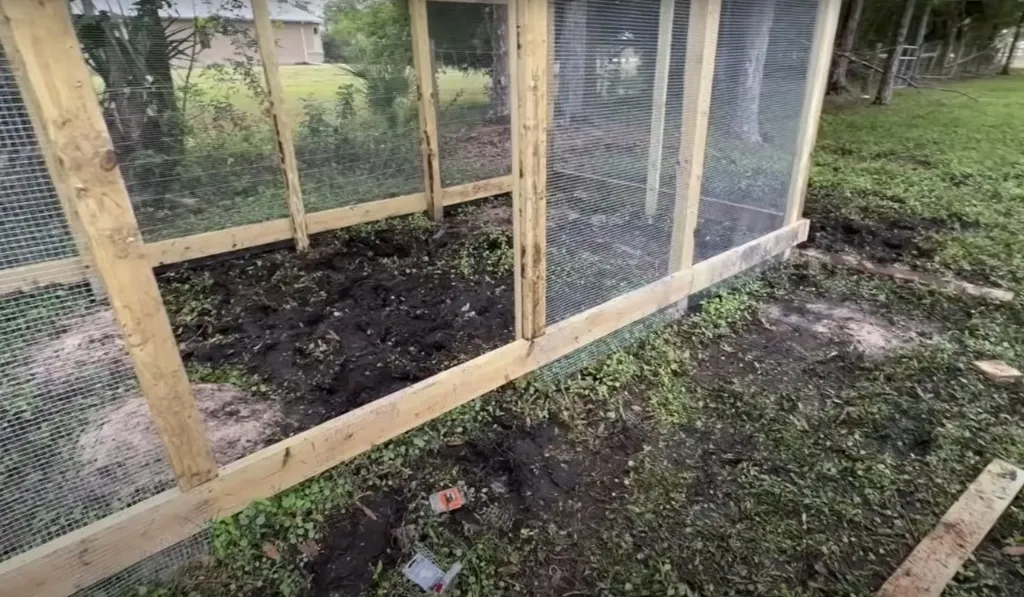
Attach the wire mesh fencing tightly to the frame, ensuring there are no gaps or loose areas that could allow predators to enter. Use a mesh size that is small enough to keep out potential threats like foxes, raccoons, or snakes, but not too small to restrict airflow.
A mesh size of 1 inch or smaller is recommended. Consider using a stronger gauge of wire (like 16 or 14 gauge) for added protection against larger predators.
Step 6. Add Doors and Access
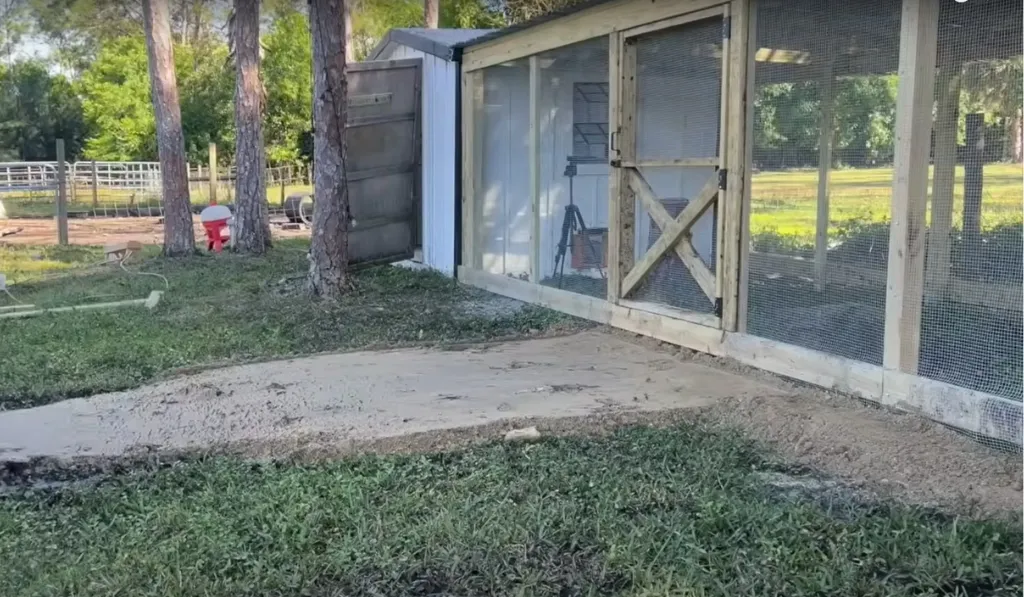
Install a sturdy door or gate to allow easy access to the chicken run for cleaning and maintenance.
The door should be securely hinged and have a locking mechanism to keep it tightly closed and prevent predators from entering. You also want to add a smaller pop-hole or ramp for the chickens to enter and exit.
Step 7. Finishing Touches
To enhance the chicken run, consider adding some finishing touches.
Install shade structures like tarps or shade cloths to provide areas of relief from the sun. Create dust bathing areas by adding shallow containers filled with fine dirt or sand. Set up feeders and waterers inside the run, and add perches or roosting bars for the chickens to rest on.
You can also incorporate vegetation like grasses or shrubs for added enrichment. I would say decorative elements like painted fences or flower boxes can be great!
Step 8. Maintenance and Safety
Regularly inspect the chicken run for any signs of wear, damage, or potential predator entry points. Repair or replace any compromised components promptly to ensure the safety of your chickens. Provide proper ventilation within the run and keep fresh water and food sources available inside.
When working on the run or handling the chickens, always exercise caution. Plus, follow proper safety protocols to avoid injury.
Special Note: If your chickens will be free-range, the coop itself should be around 3-4 square feet per chicken. A good rule of thumb is still 4 square feet per chicken for the run.
Want to make a perfect chicken run area for your poultries? Follow the given video –
FAQs
Want to learn more about building run for chicken? Here’s the FAQ section to help you out!
Q. How to build a chicken run with a roof?
Add a roof frame over the run and cover it with weatherproof materials. For example – corrugated plastic or metal roofing.
Q. How do you build a chicken run on uneven ground?
Level the high spots and use landscape timbers or retaining walls to create a level surface for the run.
Q. How do you build a chicken run out of pallets?
Disassemble pallets and use the wood to build the frame. Then cover with wire mesh or chicken wire.
Q. What size run for 10 chickens?
Aim for at least 20-25 square feet per chicken. Remember, you need a 200-250 square foot run for 10 chickens.
Q. What is the cheapest way to build a chicken run?
Use recycled or inexpensive materials. For example – pallets, scrap lumber, and chicken wire for a budget-friendly run.
Q. How much does it cost to make a chicken run?
Costs can range from $100 to $500+ depending on size, materials used, and any extras added.
Q. What size run for 20 chickens?
For 20 chickens, aim for a run that’s at least 400-500 square feet in size.
Q. How many chickens are in the 4×8 run?
A 4×8 foot run (32 square feet) would comfortably accommodate 1-2 chickens using the 20 sq ft per bird guideline.
Final Word
Building a chicken run is like crafting a cozy home for your clucking buddies. It’s a fun project that keeps them safe and happy while they peck and strut around. Just stick to these simple steps, and you’ll have a fantastic chicken playground in no time!
Start by finding a spot in your yard that’s sunny and spacious enough for your chickens. Be sure you think of sturdy fencing, strong posts, and some wire mesh. Quality materials mean fewer headaches later on! With some elbow grease and a little creativity, you’ll soon have a chicken run they’ll surely love!