Corridor False Ceiling Designs That Enhance Flow, Light, and Spatial Perception
A corridor false ceiling typically lowers the original height by 4 to 8 inches, creating space for recessed lighting, wiring, or HVAC while influencing how narrow or long the passage feels.
Most residential corridors range from 3′ to 6′ wide and 10′ to 30′ long, so ceiling design directly impacts perceived width, brightness, and movement.
These 11 ideas focus on optical expansion, even lighting, and clean lines—so your hallway feels intentional, not like an afterthought.
Why Ceiling Design Matters in Corridors
Narrow spaces amplify flaws: Uneven lighting or bulky drops make hallways feel tighter.
Height affects perception: Lowering ceilings too much creates a tunnel; strategic drops can add rhythm without compression.
Lighting must be uniform: Shadows or dark zones make corridors feel unwelcoming or unsafe.
Continuity supports flow: A ceiling that aligns with adjoining rooms reduces visual chop.
11 Corridor False Ceiling Designs That Enhance Flow, Light, and Spatial Perception
All concepts assume standard 8’–9′ original ceiling height and typical residential widths.
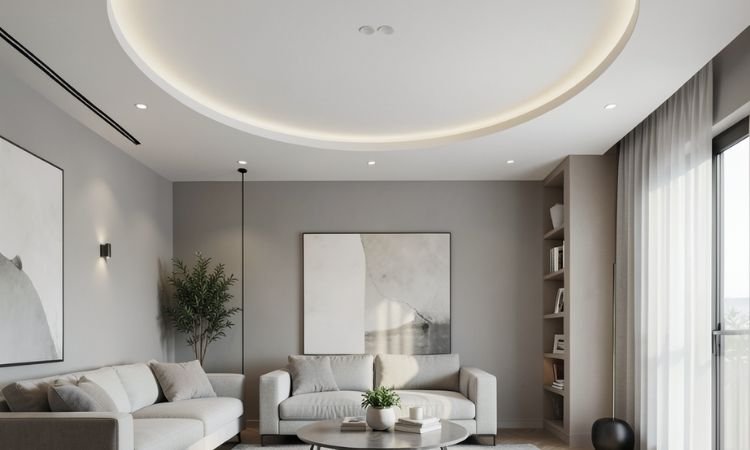
1. Perimeter Tray Ceiling with Cove Lighting
Lower only the outer 12″–18″ of the ceiling by 4″–6″, leaving the center at full height. Install LED strip lighting in the cove facing the wall to bounce soft, indirect light down.
Creates a floating effect that widens the corridor visually. Works in hallways as narrow as 3′ wide.
2. Linear Recessed Panel System
Create a series of shallow rectangular panels (2’–3′ wide) running the length of the corridor, each lowered 3″–4″. Space them evenly with recessed downlights centered in each panel.
Adds rhythm without bulk. Ideal for long hallways over 15′ to break up monotony.
3. Center Beam with Integrated Lighting
Install a single central beam (6″–8″ wide) running the corridor’s length, lowered 5″–6″. Embed linear LED strips along both sides of the beam for even ambient light.
Draws the eye forward, reducing tunnel effect. Best in corridors 4’+ wide.
4. Sloped Ceiling Transition at Entry
Lower the ceiling gradually over the first 3’–4′ of the corridor (from 9′ to 8′), then keep it level. Softens the transition from a tall room (like a foyer) into a standard-height hall.
Prevents abrupt height changes that feel jarring. Use in homes with vaulted entryways.
5. Minimalist Flat Drop with Uniform Lighting
Lower the entire ceiling by 4″–5″ uniformly. Install evenly spaced 4″ recessed LED downlights (3000K, 700+ lumens) every 4’–5′ for consistent brightness.
Simple, clean, and cost-effective. Avoid in corridors under 8’6″ post-drop—can feel compressed.
6. Asymmetrical Drop for Architectural Interest
Lower one side of the ceiling by 6″, keep the other at full height. Run a linear light along the drop edge. Creates dynamic shadow play and breaks symmetry.
Best in wider corridors (5’+) where imbalance won’t feel awkward.
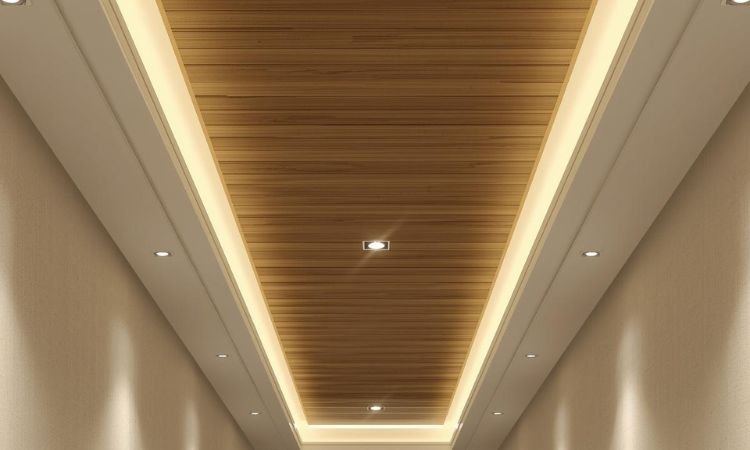
7. Curved Cove Ceiling at Ends
Form a soft curved cove where the ceiling meets the wall at both ends of the corridor. Keep the center flat. Hide LED strips in the coves for gentle end lighting.
Softens hard corners and reduces “dead-end” feeling. Adds elegance without lowering overall height.
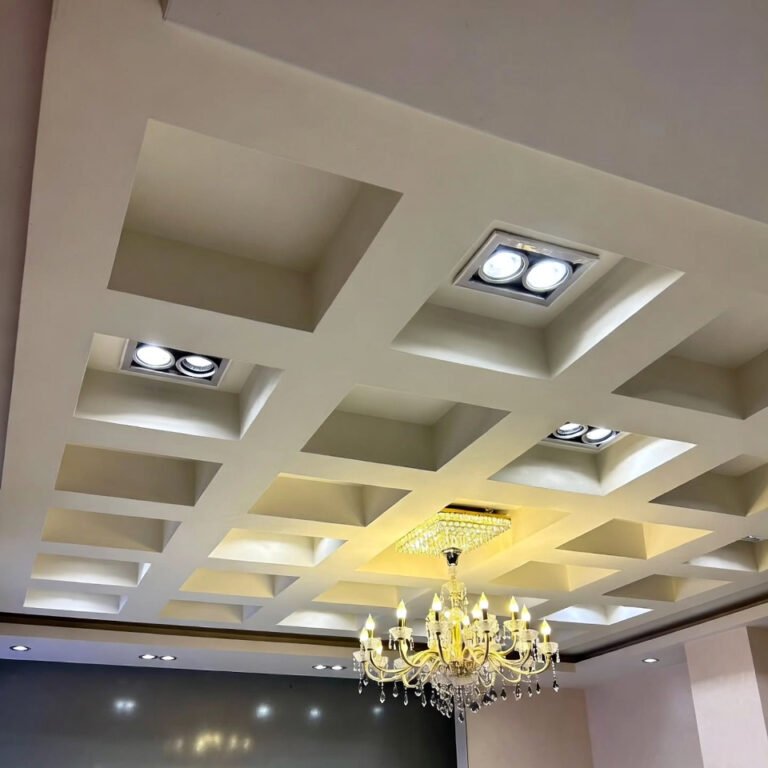
8. Grid Panel Ceiling with Recessed Lights
Install a 2×2 or 3×3 grid of square panels, each lowered 3″–4″. Place one recessed light in the center of every other panel to avoid over-lighting.
Adds subtle pattern. Keep lines crisp and painted matte white to avoid visual clutter.
9. Floating Ceiling with Perimeter Gap
Lower a central ceiling panel by 5″, but leave a continuous 2″–3″ gap between it and the walls. Conceal LED strips in the gap for a levitating effect.
Makes the corridor feel taller and more modern. Requires precise drywall finishing.
10. Exposed “Beam” Look with Painted MDF
Install faux beams (3″–4″ tall) made of MDF running parallel across the ceiling, spaced 3’–4′ apart. Paint to match the ceiling for a subtle architectural detail.
Adds rhythm without real structural weight. Never lower actual height—just surface treatment.
11. Continuous Ceiling with End Accent Drop
Keep 90% of the corridor ceiling at original height. Only lower a 3’–4′ section at the far end by 6″–8″ to house a statement light or art niche.
Creates a destination, reducing tunnel effect. Draws the eye forward purposefully.
Common Mistakes and Fixes
- Over-lighting with too many fixtures
Fix: Use fewer, higher-lumen LEDs spaced farther apart. Aim for 20–30 foot-candles of even light. - Lowering ceiling too much in narrow halls
Fix: Never drop below 8′ finished height in corridors under 4′ wide—it will feel oppressive. - Ignoring continuity at doorways
Fix: Carry the ceiling design slightly into adjoining rooms or use matching trim to smooth transitions. - Using cool-white lighting (4000K+)
Fix: Stick to 2700K–3000K for warm, inviting glow—cool light feels clinical in passageways. - Skipping maintenance access
Fix: Include removable panels or access hatches if housing HVAC or wiring above.
Design for Movement, Not Just Looks
A corridor ceiling should guide you—not stop you. Prioritize even light, consistent height, and clean lines over ornamentation.
The best design disappears into the background, making the passage feel calm, bright, and effortless.
Which of these 11 ideas fits your corridor’s width and length? Start with lighting and height—then add detail only if it enhances flow.