Build Your Quail Coop in 10 Simple Steps (For Beginners!)

Quail in the house and decided to build your first quail coop? Building your first quail coop seems daunting, but it’s a straightforward project with proper planning and guidance.
But what to do for Building Your First Quail Coop? Design your coop based on the number of quails. Include nesting boxes for egg-laying and ensure the coop size allows enough space for movement. Install feeders and waterers, and create perches for roosting. Focus on predator-proofing and regularly maintain & clean the coop.
I’ve included thoughtful planning to make the beginner-friendly coop for quails. So, let me guide you with all these things!
Table of Contents
A 10 Step-by-step Guide for Building Your First Quail Coop
Ready to build your quail coop? It’s an exciting DIY task with just a few steps to complete. Here’s a detailed guide to get you started:
Step 1. Materials Needed
First, let’s gather all the materials.
- You’ll need exterior-grade lumber like cedar or pressure-treated pine for the frame and walls.
- For covering the run and ventilation areas, use galvanized hardware cloth or 1/2-inch welded wire mesh.
- Don’t forget hinges, latches, staples, and a good quality wood sealant to protect your coop from the elements.
Step 2. Quail Coop Plans
Next, sketch out your coop plan. How many quails are you housing?
1 square foot of floor space per bird, with a minimum height of 24 inches. Consider adding a covered outdoor run attached to the main coop for fresh air and sunshine. Research climate-appropriate insulation and ventilation strategies to keep your quails comfortable year-round.
Step 3. Choosing a Location
Choose a level, well-drained area that gets 6-8 hours of direct sunlight daily.
Avoid placing the coop under trees or near busy areas. Ensure it’s easily accessible for you to clean and collect eggs. If possible, position the coop near existing fencing or structures for extra wind protection.
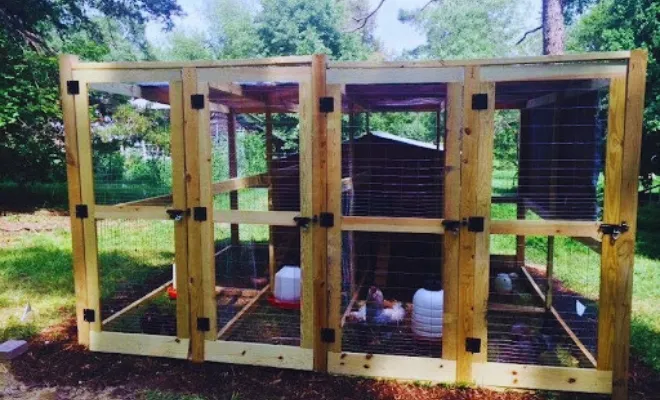
Step 4. Coop Design and Size
Design a simple, rectangular coop with a pitched roof to shed rain and snow.
Inside, create a roosting/nesting area and an open “loafing” space. For ventilation, include windows covered with hardware cloth, and create airflow pathways near the roof. Insulate the walls and ceiling to help regulate the temperature.
Step 5. Nesting Boxes and Laying Areas
Plan for one 12×12-inch nesting box for every 3-4 female quails.
Ensure the boxes have a 5-6 inch lip to contain nesting material like pine shavings. Position nest boxes about 12 inches off the ground in a dark, secluded corner of the coop. Use a removable divider to separate the nest area from the roosting area for easier egg collection.
Step 6. Feeders and Waterers
Choose quail-specific feeders and waterers to prevent feed wastage and keep water clean.
Sturdy plastic or galvanized metal feeders that can be hung at quail head height work best. Place waterers in a shaded area of the coop. Adding a lip or mesh cover helps prevent debris and litter contamination.
Step 7. Perches and Roosting Areas
Provide 2-3 inch high roosting perches to promote natural behaviors. It’s crucial as well!
Use a naturally rough material like a dowel or tree branch mounted horizontally about 12 inches from the floor. Place perches near nest boxes and over a droppings pit lined with puppy pads or pine shavings for easier cleaning.
Step 8. Predator-Proofing and Security
To protect your quails from predators, bury the hardware cloth or wire mesh apron at least 12-18 inches into the ground. Be sure to secure it to the coop frame. Install sturdy latches and locks, and consider using an automatic door opener/closer.
Cover any vents or openings larger than 1/2 inch with hardware mesh.
Step 9. Maintenance and Cleaning
Plan for weekly or bi-weekly deep cleaning by removing all litter and disinfecting with a quail-safe cleaner. Scoop droppings from roosting areas daily. Keep a backup supply of fresh litter like pine shavings on hand.
Clean and refill feeders and waterers daily to maintain freshness.
Related Articles:
Step 10. Additional Tips
When introducing new quails, do it slowly and monitor for bullying.
Consider placing baffles near nest boxes to provide privacy. Regularly check for external parasites and inspect birds for signs of illness. Provide quality commercial quail feed and always have fresh water available.
With some preparation, your quails will thrive for sure!
Want to learn the quail coop building process in detail? Here’s a video!
FAQs
Still want to learn more about making quail coop for the first time? Well, the following queries can help you get your answer!
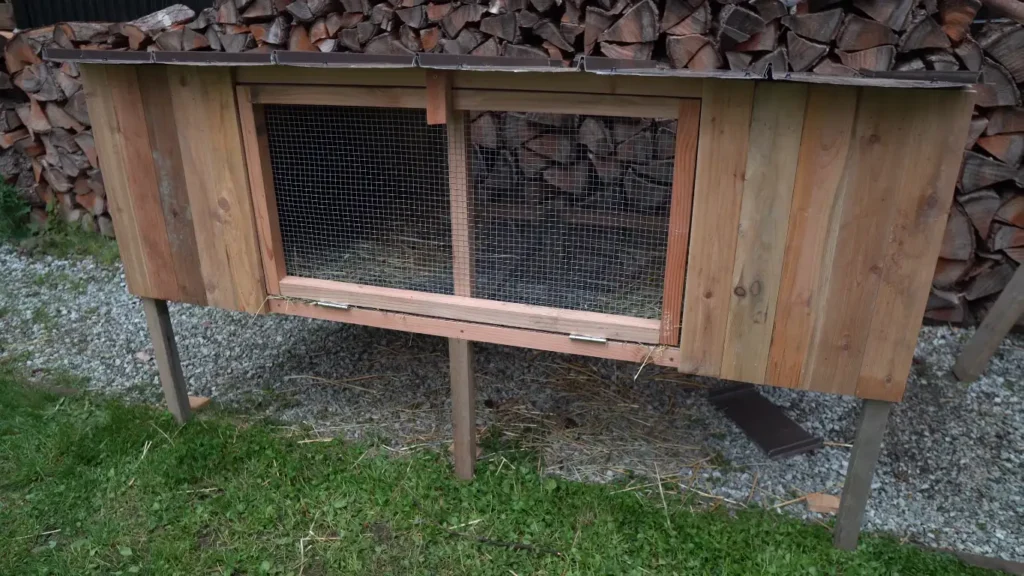
Q. Can I keep quail in a hutch indoors?
Yes, hutches are a great option for keeping quail indoors. Just ensure proper ventilation, lighting (if needed), and enough space.
Q. Can I buy a pre-built quail coop instead?
Absolutely! Pre-built coops are a great option if you’re short on time or DIY skills. Just ensure it’s the right size and has all the necessary features for your quail.
Q. How often should I clean the quail coop?
A good practice is to spot clean daily and do a deep clean of the coop weekly.
Final Word
Building your first quail coop is an achievable project with proper planning and guidance. By following these 10 simple steps, you’ll create a safe, comfortable, and functional home for your quails. From selecting the right materials and location, you’ll get success. Especially incorporating essential features like nesting boxes, feeders, and predator-proofing.
Remember, regular maintenance and cleaning are key to keeping your quails healthy and productive. With a little effort and attention to detail, they’ll have a comfy coop place. So, grab your tools and get started on this rewarding DIY adventure!