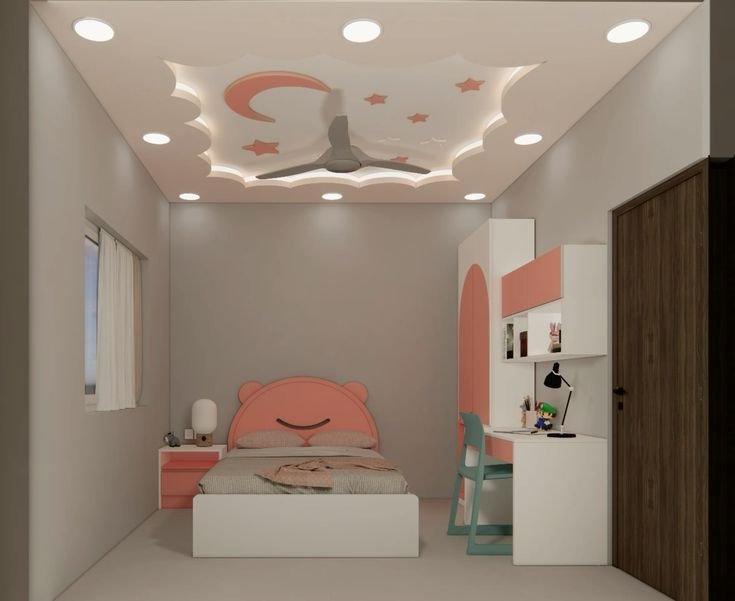
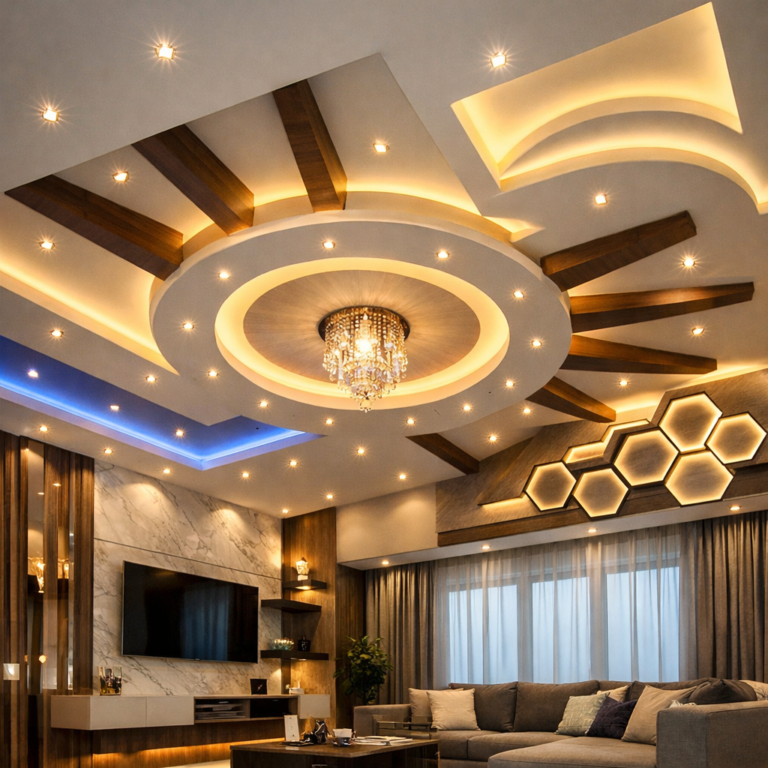
POP False Ceiling Design Ideas That Add Style Without Overwhelming Your Space
Plaster of Paris (POP) false ceilings remain a popular choice in homes and apartments for their smooth finish, moldability, and clean lines.
Most residential rooms range from 12’x14′ to 16’x20′, with ceiling heights of 8′ to 9′, so designs must balance visual interest with headroom. The best POP ceilings enhance lighting, hide utilities, and add subtle dimension—without dropping too low or feeling dated.
Forget heavy cornices or 2000s-era “starburst” patterns. Modern POP design leans minimalist: clean edges, recessed coves, and integrated lighting that support daily life. These 10 ideas focus on proportion, function, and timeless appeal—so your ceiling feels finished, not fussy.
Why POP Still Works Today
Smooth, seamless finish: Ideal for modern and transitional interiors.
Lightweight and moldable: Can be shaped into curves, steps, or panels without cracking.
Hides wiring and ducts: Creates a clean plane over HVAC, speakers, or recessed lights.
Paint-friendly: Takes matte or satin paint evenly for a flawless look.
10 POP False Ceiling Design Ideas That Add Style Without Overwhelming Your Space
All concepts work in standard rooms with 8’–9′ floor-to-ceiling height.
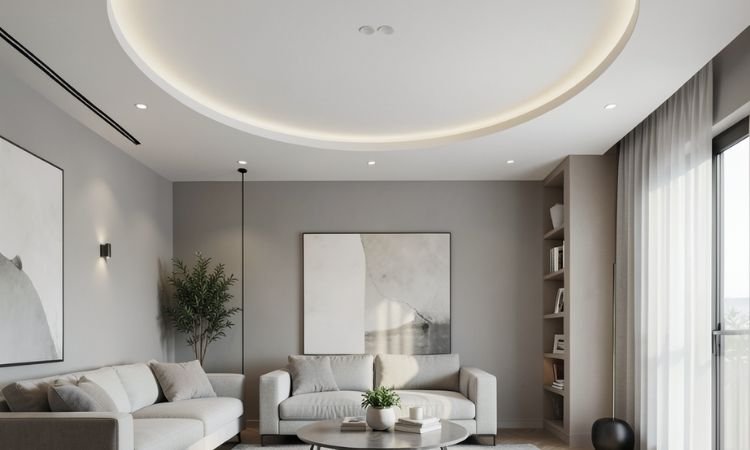
1. Single-Level Flat Ceiling with Recessed Cove
Install a flat POP ceiling dropped 4″–5″ with a continuous cove along one wall or perimeter for indirect LED lighting.
This adds ambient glow without reducing headroom significantly and keeps the surface clean for fans or pendant lights.
2. Perimeter Step with Center Panel
Create a 12″–18″ wide stepped border around the room, leaving the center raised or flush, to define the space and house recessed downlights.
The step adds subtle depth while maintaining an open feel—ideal for living rooms or bedrooms.
3. Linear Beam Design in Grid Pattern
Add shallow POP beams (3″–4″ deep) in a straight grid or parallel lines to mimic architectural structure without heaviness.
Space beams 4’–6′ apart and paint them the same as the ceiling for a monolithic look that works in modern farmhouses or minimalist spaces.
4. Curved Cove at Corners
Softening sharp corners with a gentle curved cove (radius 6″–8″) creates a seamless transition between walls and ceiling.
This detail feels luxurious without dropping the ceiling and pairs well with wall sconces or hidden LED strips.
5. Integrated Lighting Tray Above Bed or Sofa
Build a shallow rectangular tray (6″–8″ deep) centered above the bed or sofa to house directional spotlights or a statement pendant.
Keep edges crisp and paint matte white to avoid glare—perfect for task or accent lighting without cluttering walls.
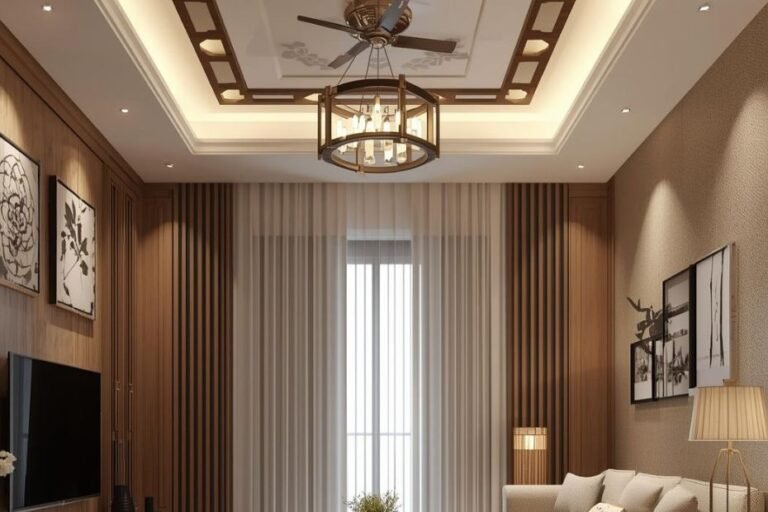
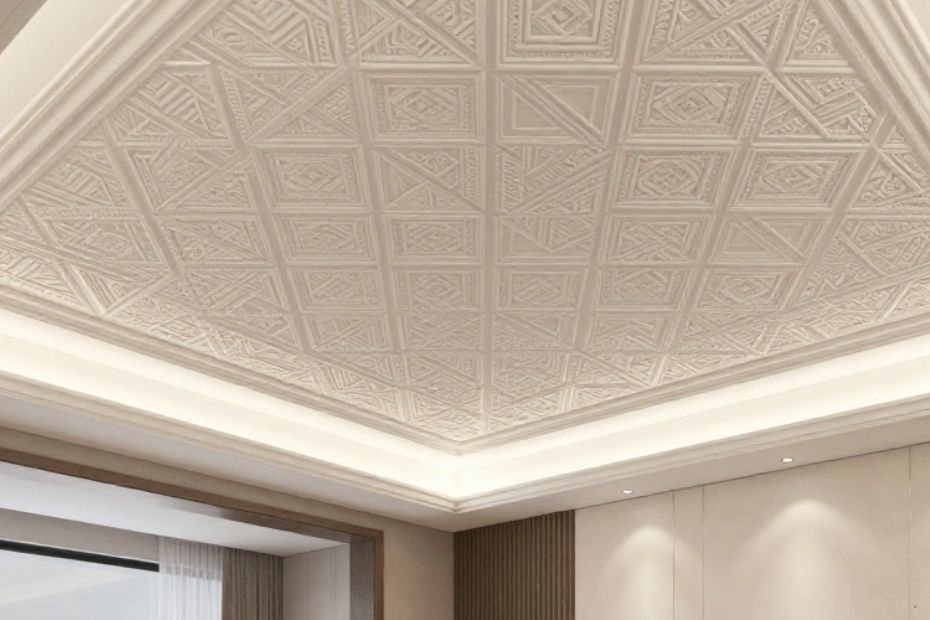
6. Minimal Cornice Molding (2″–3″ Profile)
Add a simple, narrow cornice along the wall-ceiling junction for subtle definition—no ornate scrolls or floral patterns.
This classic touch works in traditional or transitional rooms and helps hide minor wall imperfections.
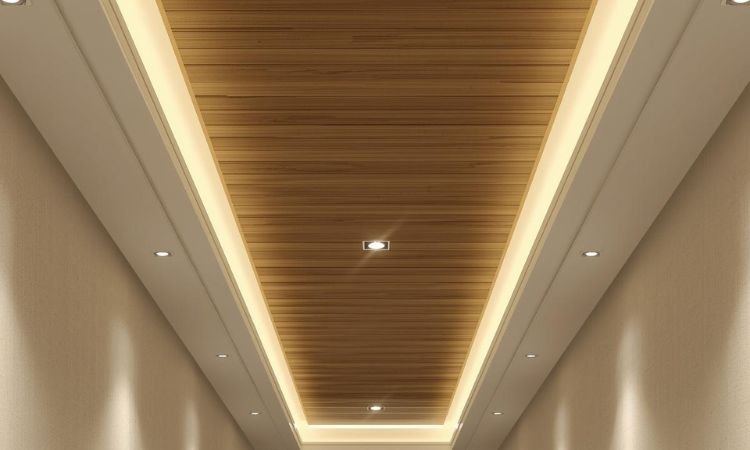
7. Floating Ceiling with Hidden Perimeter Gap
Lower a central panel by 5″–6″ and leave a continuous 2″ gap around the edges, concealing LED strips for a levitating effect.
Requires precise framing but creates a dramatic yet clean focal point in dining or living areas.
8. Sloped Transition in Stairwells or Vaulted Areas
In stairwells or rooms with partial vaults, use POP to create a gradual slope over the first 3’–4′ to soften the drop.
This eases the visual transition between levels and maintains a cohesive finish where drywall meets angled ceilings.
9. Seamless Ceiling with Discreet Access Panels
Finish with smooth POP throughout but integrate removable panels (18″x18″ or 24″x24″) near bathrooms or HVAC chases.
Match texture and paint perfectly so panels disappear—essential for future plumbing or electrical access.
10. Monolithic Look with Zero Beams or Steps
Opt for a completely flat, uninterrupted POP ceiling painted in matte white to maximize perceived height in small or low-ceiling rooms.
Pair with wall-mounted or floor lamps instead of overhead fixtures to keep the surface pure and airy.
Common Mistakes and Fixes
- Dropping ceiling too low
Fix: Never drop more than 6″ in rooms under 9′ tall. Prioritize cove lighting over deep trays.
- Overusing decorative cornices
Fix: Skip ornate moldings. A 2″–3″ clean profile is enough for definition without dating the space.
- Ignoring utility access
Fix: Always include at least one access panel if pipes or wires run above—especially below bathrooms.
- Mixing POP with gypsum without planning
Fix: Use POP for curves and fine details, gypsum for large flat areas. Don’t combine haphazardly.
- Skipping proper curing time
Fix: Allow 5–7 days for POP to fully dry before painting to prevent cracks or yellowing.
Keep It Clean, Not Complicated
A great POP ceiling doesn’t draw attention to itself—it makes the room feel complete. Focus on smooth lines, smart lighting, and just enough detail to feel intentional. Skip the drama; let simplicity speak.
Have you used POP in your home? Did you go for cove lighting, a perimeter step, or a flat monolithic look?
Share your experience in the comments—we’d love to hear how you’ve made your ceiling quietly stylish.