Making a Dust Bath for Quail (Ultimate 7-Step Guide!)

Quail are charming birds with unique needs like dust bathing to stay healthy and happy. Dust baths help quail clean themselves and avoid pests.
But what to follow for making a dust bath for Quail? Making a dust bath is easy and fun. You need a container, the right spot, and a mix of materials. Sand, diatomaceous earth, and wood ash work well. Once set up, quail loves to hop in and fluff around. Regular care keeps the dust bath working well. Clean it often and adjust for weather.
With a good dust bath, your quail will be clean, healthy, and content. Want to know the step-by-step guide to make it? Let’s dive in!
Table of Contents
Making a Dust Bath for Quail in 7 Steps
If you’ve got quail, you already know they love a good dust bath. It’s not just for fun, though!
Dust baths are essential for their health, helping them stay clean and pest-free. If you’re wondering how to make the perfect dust bath for your quail, don’t worry! It’s easier than you might think!
Let’s walk through the seven simple steps to create a cozy, effective dust bath for your feathered friends.
1. Choose the Right Container
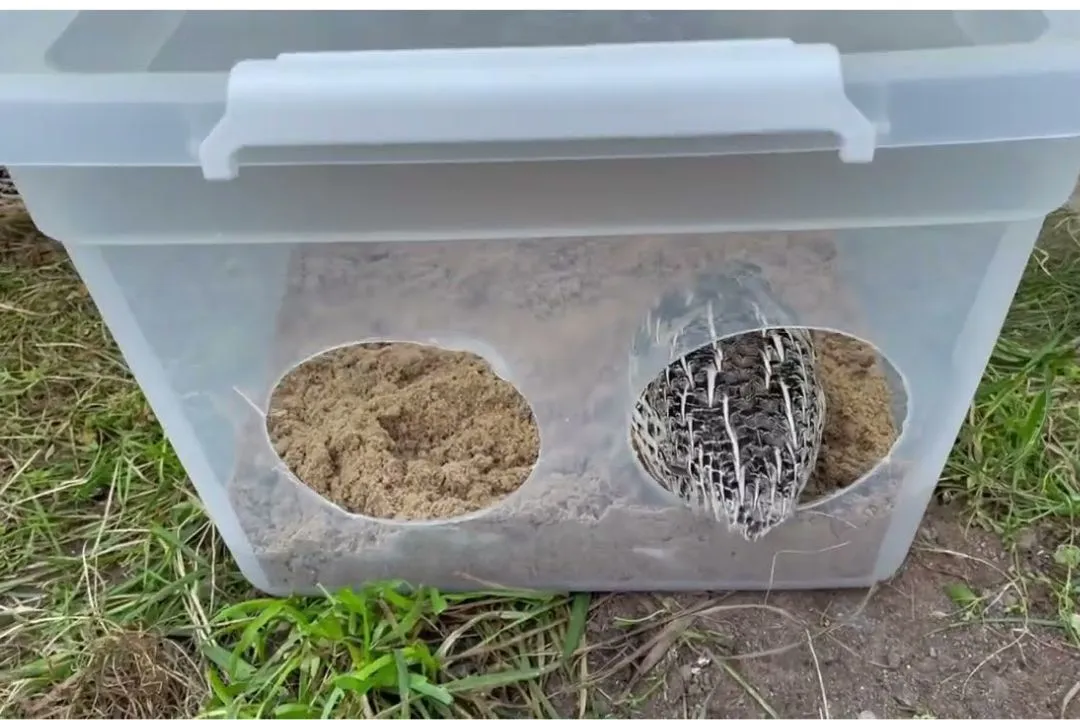
First things first, you’ll need a container to hold the dust bath mixture. Look for something that’s spacious enough for your quail to move around but not too tall so they can easily hop in and out. Plastic bins, old trays, or shallow wooden boxes work great.
Make sure the container is at least 3-4 inches deep to prevent too much mess from the flapping dust!
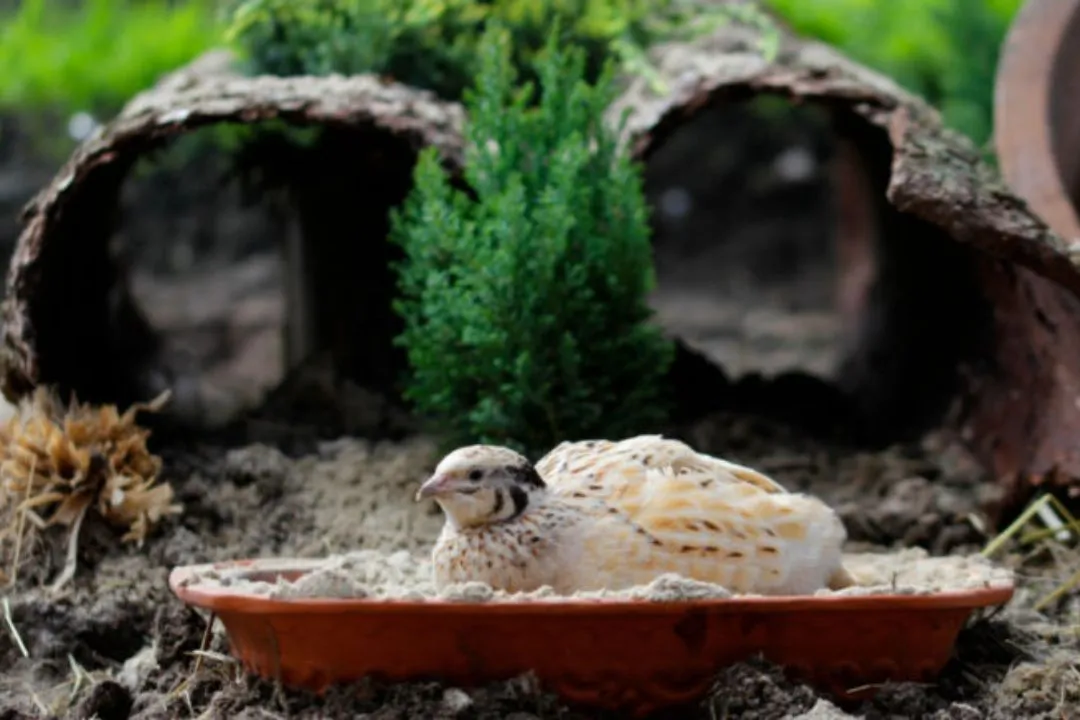
2. Pick the Right Location
Now that you’ve got your container, pick a good spot for it. Quail likes to dust bathe in warm, sunny areas. If you keep your quail in an outdoor aviary or run, place the dust bath in a sunny corner.
Indoors? No problem—just make sure it’s in a well-ventilated area where they can enjoy it without feeling cramped.
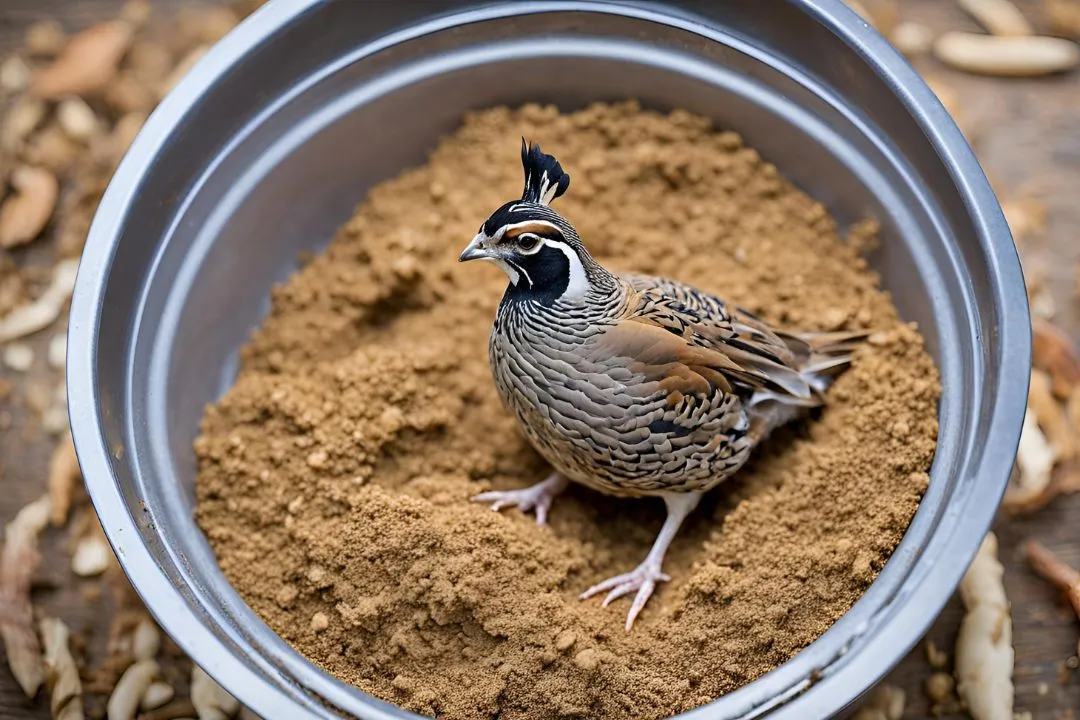
3. Fill with Dust Bath Materials
Here’s where the magic happens! A good dust bath mixture usually consists of:
- Play sand: This is the base of the dust bath, making it easy for the quail to fluff around.
- Diatomaceous earth (food grade): Helps prevent mites and other pests. Just a sprinkle is enough.
- Wood ash: If you’ve got a fireplace, add some ash for its anti-parasitic properties. Just make sure it’s completely cooled!
- Soil: You can mix in a bit of clean soil for texture.
Mix these ingredients in a 2:1:1 ratio of sand to diatomaceous earth to ash or soil. The sand keeps it light, and the other elements boost cleanliness and health.
4. Mix It Up
Once you’ve got all your ingredients in the container, give them a good mix!
You want everything well-combined so the quail can dig through the dust and really get the full bathing experience. If the mixture feels a bit too dry, you can lightly mist it with water—just don’t make it wet. Quail loves a dry, dusty bath!
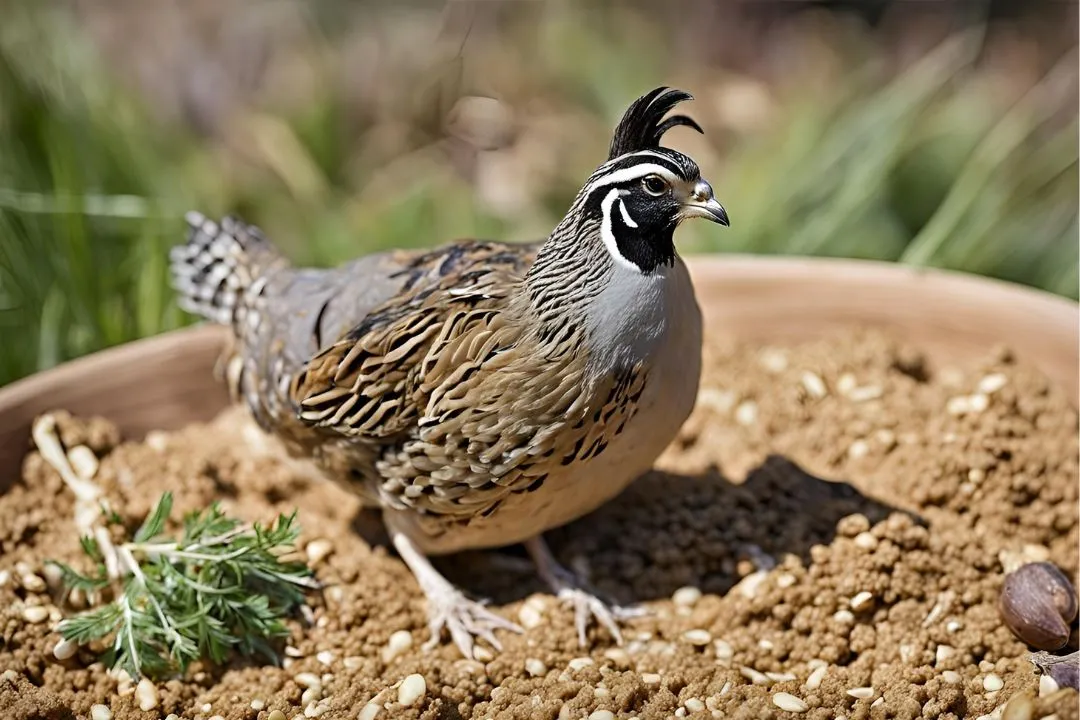
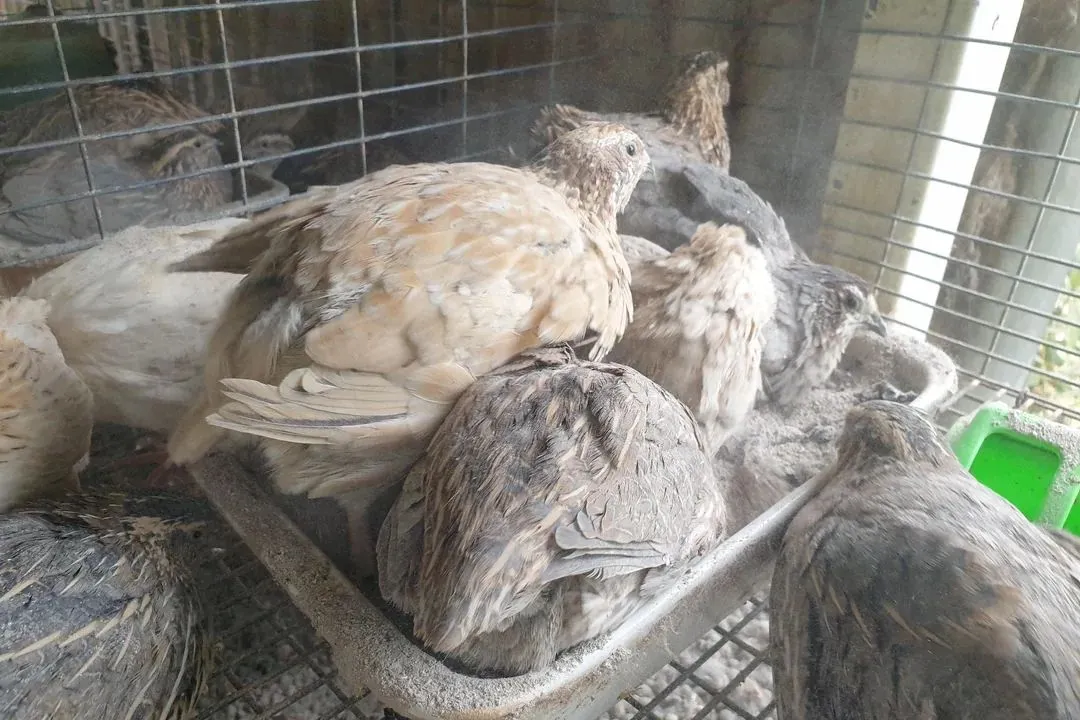
5. Introduce the Quail
Now comes the fun part: letting your quail test out their new spa!
Quail are naturally curious, so once they notice the dust bath, they’ll likely hop right in. Don’t be alarmed if they start tossing dust everywhere and shaking around—it’s all part of the process. They use the dust to clean their feathers and skin, as well as to deter pests like mites.
6. Keep It Clean
Just like any bath, the dust bath will need some regular upkeep.
Quail can leave droppings in the dust, so you’ll want to check it every few days and scoop out any dirty bits. Every few weeks, it’s a good idea to completely change the dust mixture to ensure it stays clean and effective. Keeping the dust bath fresh helps maintain its pest-fighting abilities.
7. Adjust for Weather
If your quail is outdoors, you need to move or cover the dust bath in case of rain. Quail doesn’t like a soggy bath any more than we do!
You can place the bath under a shelter or bring it indoors during bad weather to keep it dry. During the summer, ensure it’s not too hot—quail can overheat, so consider adding shade if the area gets too much direct sunlight.
Related Reads:
However, see the video for more advice about making dust baths for quail.
FAQs
Here are some FAQs and short answers based on the topic “Making A Dust Bath For Quail:
Q: Why do quail need dust baths?
A: Quail need dust baths to clean their feathers, maintain healthy skin, and deter pests like mites.
Q: What materials do I need for a quail dust bath?
A: You need a container, play sand, food-grade diatomaceous earth, and wood ash or clean soil.
Q: How often should I clean the dust bath?
A: Check it every few days to remove droppings, and completely change the mixture every few weeks.
Q: Can I use regular sand for a quail dust bath?
A: It’s best to use play sand as it’s cleaner and safer for quail.
Q: How deep should the dust bath container be?
A: The container should be at least 3-4 inches deep to contain the dust while quail bathe.
Conclusion
Creating a dust bath for your quail is simple, but it provides them with hours of entertainment and health benefits. With a few basic ingredients and a little effort, you’ll give your quail the perfect way to stay clean, and happy. Plus, watching them dust bathe is pretty entertaining!
Give these steps a try, and your quail will thank you with shiny feathers and happy little chirps!