7 SIMPLE Step-By-Step Process to Grow Sprouts for Chickens
Chickens love variety in their diet, and as a caring chicken owner, growing sprouts is a great nutrition booster. It’s a simple, cost-effective way to provide them with fresh, nutrient-packed treats.
But how to grow sprouts for chickens? Start by soaking organic seeds like alfalfa or wheat overnight. Rinse and drain the seeds twice daily, keeping them moist in a jar or tray. Ensure good air circulation to prevent mold. After 3-7 days, when sprouts are about an inch long, harvest them. Give them a final rinse before feeding to your chickens. Done!
Not only will your chickens enjoy these tasty morsels, but you’ll also have the satisfaction of growing something yourself. Ready to get started? Let’s dive in!
Table of Contents
How to Grow Sprouts for Chickens? 7 Steps
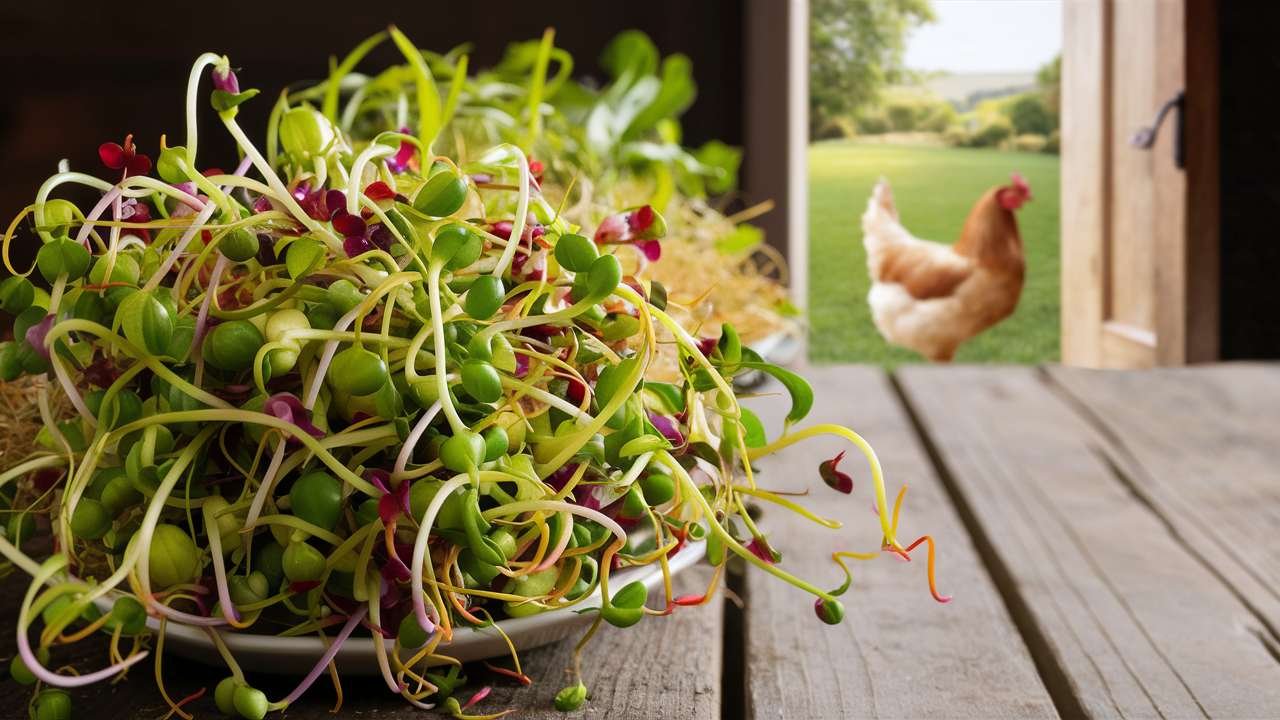
Want to treat your chickens to a nutritious snack that’s easy to grow at home? Sprouts are a fantastic option that both you and your feathered friends will love! Let’s walk through the simple steps to get started.
Step 1. Choosing the Right Seeds
The first step in growing sprouts for your chickens is selecting the right seeds.
Alfalfa, mung beans, and wheat are popular choices that provide great nutrition. Ensure the seeds are organic and free from pesticides to keep your chickens healthy. You can mix a variety of seeds to give your chickens a diverse diet.
Step 2. Equipment Needed
You don’t need much to get started—just a few basic supplies. So, get things like –
- A wide-mouthed jar
- Some cheesecloth, and
- A rubber band.
If you’re looking to sprout on a larger scale, consider using a sprouting tray with multiple layers to maximize your yield. You’ll also need access to clean water and a space where your sprouts can grow undisturbed.
Step 3. Soaking the Seeds
Once you’ve got your seeds and equipment ready, it’s time to soak the seeds.
For this, place the seeds in your jar or tray and cover them with water. Let them soak for 8 to 12 hours, depending on the type of seed. Soaking softens the seeds and kickstarts the germination process, which is crucial for sprouting.
Step 4. Rinsing and Draining
After soaking, the next step is to rinse and drain the seeds thoroughly.
Use clean, cool water and rinse the seeds well. Then, drain the water completely to avoid mold growth. This step needs to be repeated twice daily until the sprouts are ready. Keeping the seeds properly drained is key to successful sprouting.
Step 5. Maintaining Proper Moisture and Air Circulation
Proper moisture and air circulation are vital during the sprouting process.
While the seeds need to stay moist, they shouldn’t be sitting in water. Position your jar or tray at an angle to ensure excess water drains out, and keep it in a well-ventilated area. Too much moisture or lack of airflow can cause the sprouts to spoil.
Step 6. Harvesting Sprouts at the Right Time
After a few days of care, your sprouts will be ready to harvest! Most seeds take 4 to 7 days to sprout, but this can vary depending on the type. Harvest them when they’re about an inch long and have a nice green color.
And don’t forget to give them a final rinse before serving them to your chickens.
⭐Step 7. Advanced Sprouting Techniques (Pro Tip)
If you’re looking to take your sprouting game to the next level, consider experimenting with different seed combinations. Also, using a hydroponic sprouting system is great!
This method allows for a continuous harvest and can be more efficient for larger flocks.
Plus, you can sprout a variety of seeds simultaneously, giving your chickens a nutrient-packed treat every day!
Related Reads:
Here is a video to grow sprouts for chickens with proper care!
FAQs
Have some questions about the sprout growing process? Check out this Q&A section to get your help!
How long does it take to grow sprouts for chickens?
Answer: The sprouting process typically takes 3-7 days, depending on the type of seed and desired sprout length.
Can I use any leftover seeds from my garden to grow sprouts?
Answer: While you can use some garden seeds, it’s best to use seeds specifically sold for sprouting to ensure they’re free from harmful chemicals and have good germination rates.
How often should I feed sprouts to my chickens?
Answer: Sprouts can be fed to chickens 2-3 times a week as a supplement to their regular diet. Start with small amounts and gradually increase.
Are there any seeds I should avoid sprouting for chickens?
Answer: Avoid sprouting seeds from the nightshade family (like tomatoes or potatoes) and bean sprouts that are toxic when raw, such as kidney beans.
Do I need to sterilize my sprouting equipment between batches?
Answer: Yes, it’s important to clean and sterilize your sprouting equipment between batches to prevent mold growth and bacterial contamination.
Final Word
Growing sprouts for your chickens is a rewarding and straightforward process. By following these seven simple steps, you can provide your flock with nutritious, homegrown treats. Remember to choose the right seeds, maintain proper moisture, and harvest at the right time for the best results.
With a little practice, you’ll be sprouting like a pro in no time. Your chickens will thank you for the fresh, healthy addition to their diet. So why wait? Start your sprouting journey today and watch your flock thrive on these nutrient-packed snacks!