How to Make Chicken Grazing Box? 5 Proper Steps!
Chicken grazing boxes are a simple but effective idea to offer a nutritious and engaging environment for chickens. These boxes offer a variety of greens, grains, and treats for chickens to peck at!
Now, how to make chicken grazing boxes? Gather the necessary materials and tools, first. Then, build a box from wood. Attach hardware cloth (chicken wire) to prevent escape. Fill with soil and plant-safe greens. You can add a hinged lid for easy access.
Want to know the steps and more grazing box ideas? Let’s build them their food station! Let them stay happy and healthy in the grazing box!
Table of Contents
Chicken Grazing Box Ideas: What to Consider?
Chicken grazing boxes are a fantastic way to keep your feathered friends happy and healthy. But beyond the box covered with soil and seeds, there’s space for creativity!
Here are some ideas to take your chicken grazing box to the next level.
Plant Variety
Add a touch of sophistication with a selection of safe herbs like thyme, oregano, and basil. Include edible flowers like pansies or nasturtiums for a pop of color and extra nutrients.
Better if you rotate in sprouted grains. For example – wheatgrass or barley for a quick and healthy treat. Remember, grass seeds are good options!
But wait! Will chickens eat grass seed? Yes, they’ll eat grass seeds in the grazing box.
Box Design
Build a multi-level box to maximize grazing space and add visual interest. Construct a box on wheels for easy relocation around the run, preventing bare patches.
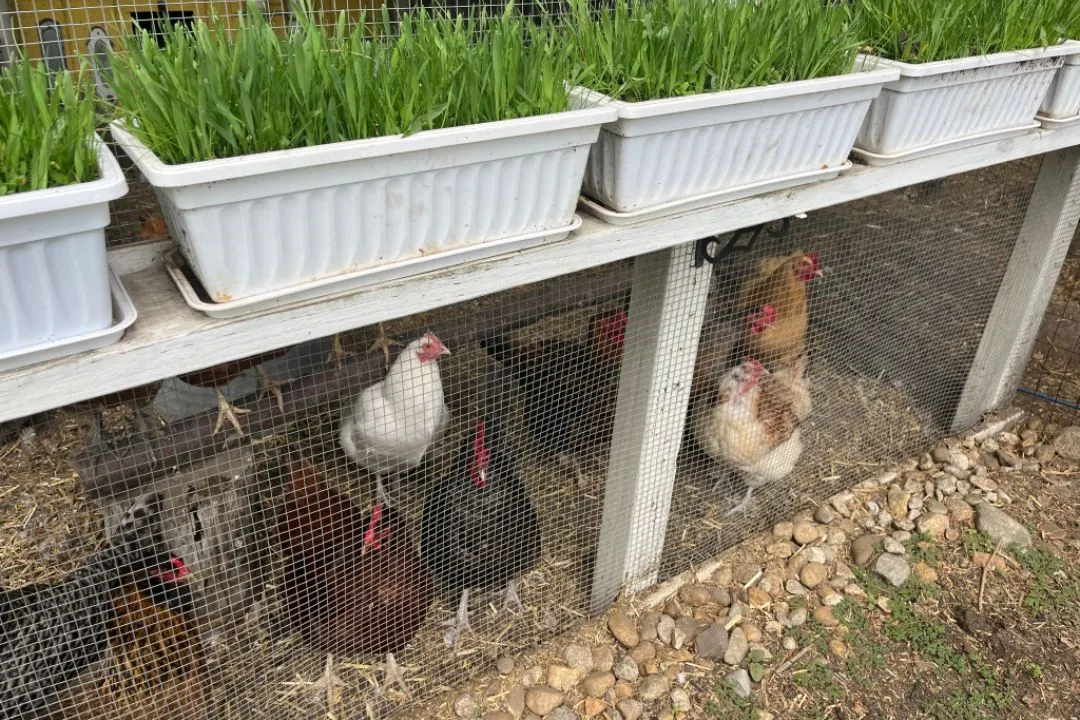
It’s also great to repurpose a hanging basket with a wire mesh bottom for a space-saving option.
Enrichment Features
Bury chopped vegetables or mealworms in the soil for a fun foraging challenge. It’s a great hidden treat option!
You can create a dust bath section in one corner using sand or dirt. Also, layer the bottom with straw or hay for natural scratching behavior.
How to Make Chicken Grazing Boxes
Are you thinking about making a grazing box for the chickens? You’ll have to go through a step-by-step process. So, here I am sharing a complete guide!
#Step 1. Materials and Tools
- Lumber: Choose untreated wood like cedar or pine. Select enough for your desired box size (e.g., 2x4s for a simple frame).
- Hardware Cloth: Get galvanized hardware cloth (chicken wire) with a gauge suitable for chickens (typically 1/2 inch).
- Staples & Staple Gun: Opt for galvanized staples that will hold up outdoors. Get a staple gun for secure attachment.
- Soil: Fill the box with good quality potting mix or topsoil for healthy plant growth.
- Seeds or Seedlings: Choose a variety of safe and nutritious plants for your chickens. You can also use seedlings for a faster start.
- Saw: A handsaw or circular saw will help you cut the lumber to size.
- Drill: Pre-drilling screw holes prevent the wood from splitting, especially if using screws.
- Screws (optional): For a sturdier box, consider using screws instead of nails for assembly.
- Hinges (optional): Create a removable lid for easy access with a hinge set.
- Tape Measure & Pencil: Plan your box size and mark lumber for cutting.
#Step 2. Build the Grazing Box
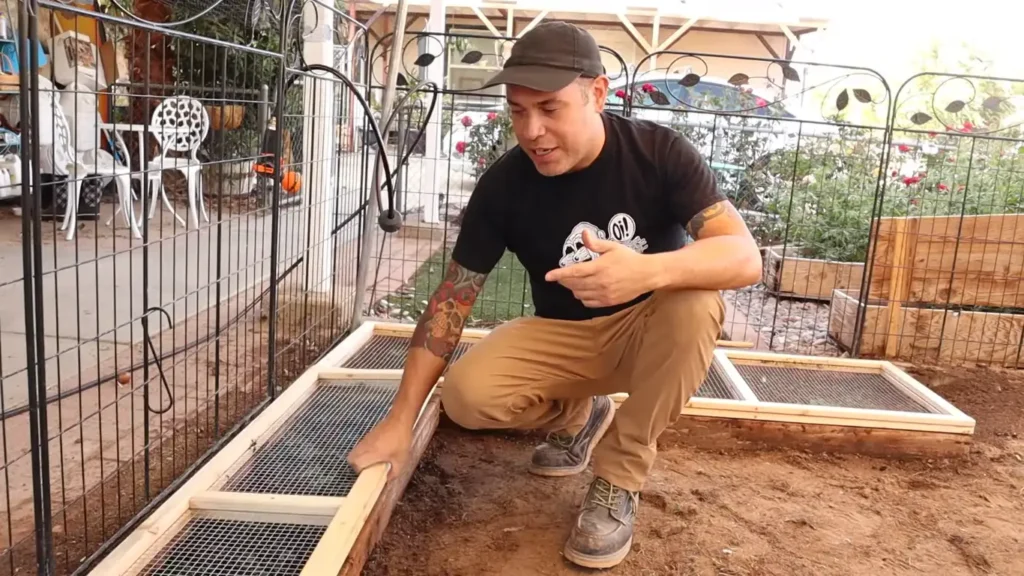
First, cut the wood into four pieces of the same size. Then, use sandpaper to make the edges smooth. Apply a safe wood preservative to shield the wood.
Next, put together rectangular frames with the 2×4 pieces. Add extra support inside to stop them from bending.
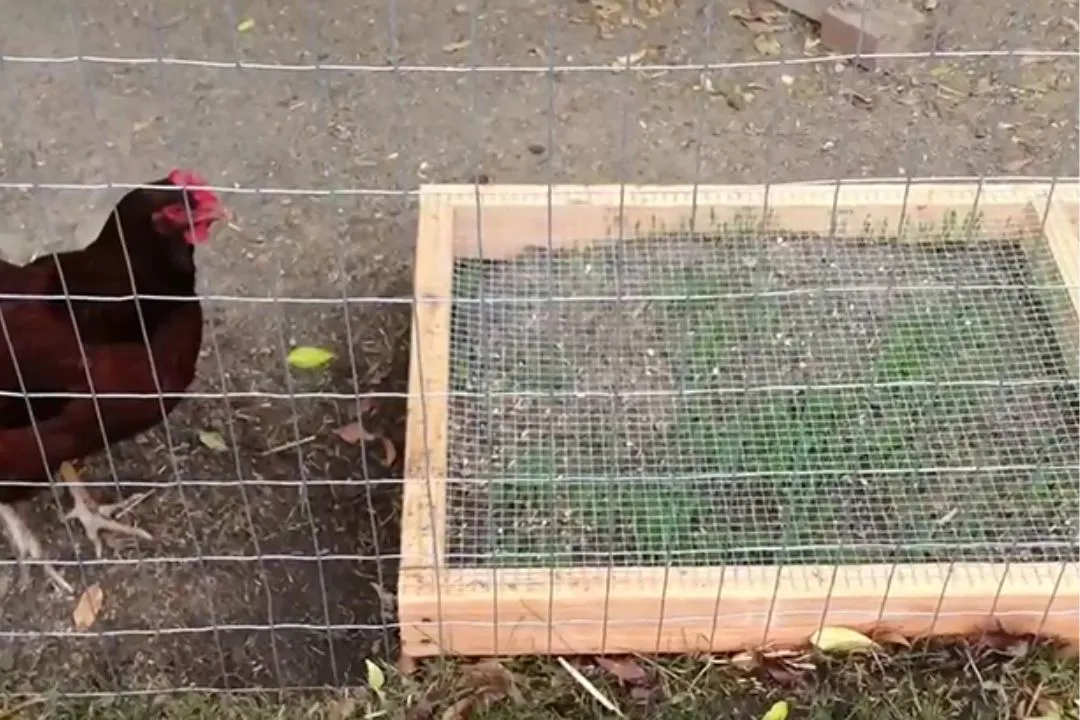
You need to staple the wire mesh onto one side of each frame. Use bricks or blocks to raise the frames. Fill them with dirt or compost and sow grass seeds.
Lastly, move the boxes around to keep the grass growing well.
#Step 3. Planting the Grazing Box
Now that your DIY chicken grazing box is ready, let’s plant something for their meal! But what kind of plants are safe for chickens to eat? What seeds to use in a chicken grazing box?
Choose different plants for a balanced diet. Popular ones include ryegrass, clover, herbs (like thyme, oregano, and basil), and leafy greens such as kale and Swiss chard.
Mix seeds and seedlings for fast results. Seeds are great for the long term, while seedlings give a quick meal.
Now planting times come!
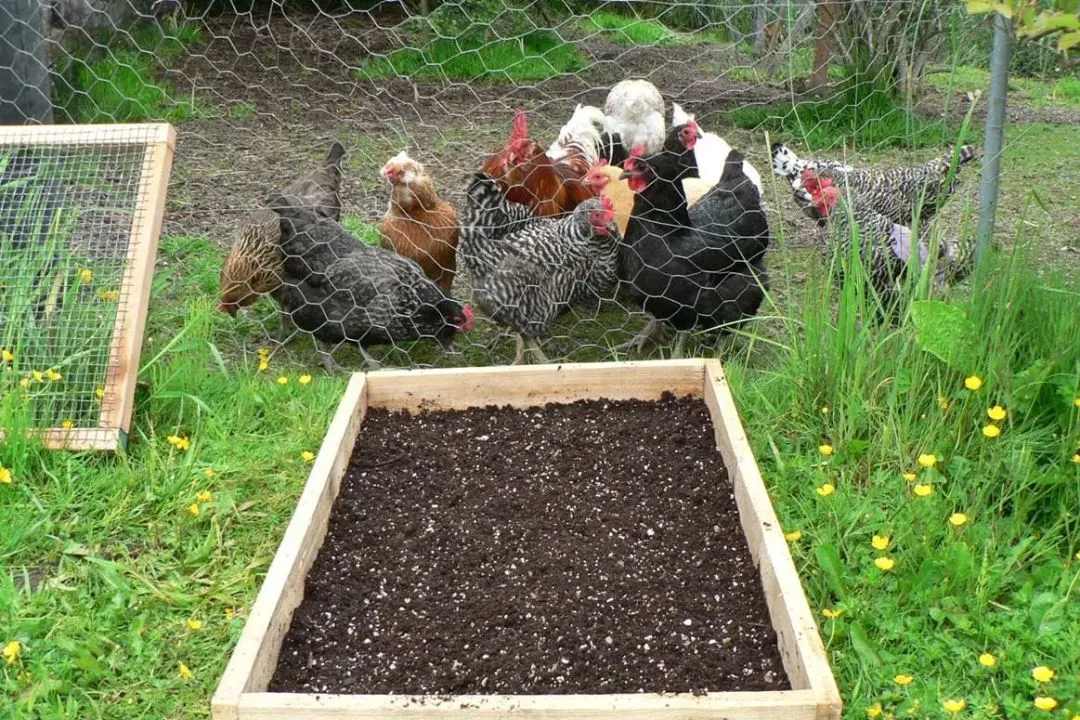
- Fill the box with good soil, leaving a bit of space at the top.
- Scatter seeds evenly on the soil and lightly press them in.
- Dig small holes for seedlings, cover the roots, and press the soil around them.
- Give the box a good watering after planting to help the seeds grow.
#Step 4. Finishing Touches
The finishing touches on the chicken grazing box are about adding convenience and functionality.
Want easy access for planting, refilling, and cleaning? Attach hinges to one side of the box. Also, the hardware cloth creates a removable lid.
Choose strong hinges that can withstand repeated opening and closing.
Double-check that the hardware cloth is securely stapled all around the box. Ensure there are no loose edges or gaps. Check where your chickens could get caught or escape through.
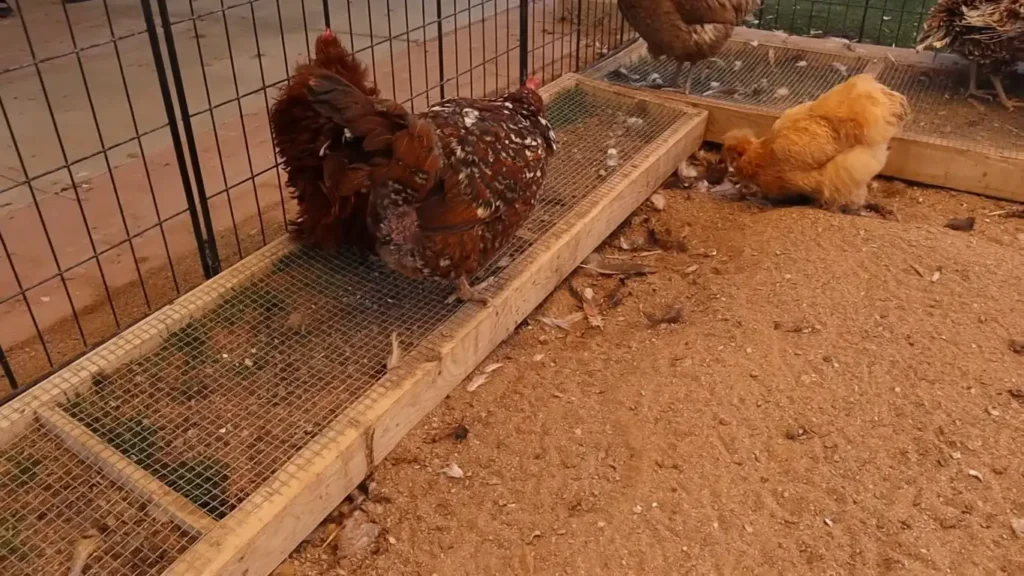
But wait! Does the hardware cloth or chicken wire hurt their feet? Can it cause cuts or damage?
Yes, the hardware cloth or chicken wire can hurt their feet. If not installed properly or if there are sharp edges, it causes cuts or injuries to their feet.
For a touch of personalization, consider labeling your grazing box. This is especially helpful if you have multiple grazing boxes with different plantings.
Where to Place the Chicken Grazing Box?
Choose a sunny spot within your chicken run with good drainage. Avoid placing the box directly under a tree. It’s where it might get limited sunlight or constant dripping.
Prefer more Comfort Touches?
To encourage natural scratching behavior, add a layer of straw or hay on top of the soil. It should be in one section of the box.
#Step 5. Maintenance Tips
Now, how do you keep grazing boxes fresh? Keep the soil moist, especially in hot weather and while the plants are young. Remove any weeds that pop up to keep the plants healthy.
Add more seeds or seedlings as your chickens eat to keep the food coming.
Bonus Tip: Put some straw or hay on top of the soil. It’s to keep weeds away and give your chickens something to scratch.
How often do I need to water the grazing box? Frequency depends on climate. Aim for consistently moist soil, especially when establishing new plants.
How often do I need to replant the grazing box? These elevated mesh boxes provide fresh grass for 9-10 months out of the year. However, replant every few weeks or months. Follow it depending on plant growth rate and chickens foraging.
Do I need to move the grazing box around the run? Yes! By doing so, you can help your entire chicken run have less environmental impact.
Related Articles:
See the video to get more ideas about the poultry grazing box.
FAQs
Want to have more ideas for grazing boxes for chickens, check out the FAQ section!
Q. How many chickens can one grazing box handle?
Depends on size! Allow 2-3 sq ft of grazing space per chicken.
Q. How long do grazing boxes last?
With care, a well-built box can last several years.
Q. Can I put vegetables in the grazing box?
Yes, occasionally add chopped veggies like carrots for enrichment, but not as the main food source.
Q. Can I use a store-bought planter box for a grazing box?
Yes, if drainage holes are big enough and sides are reinforced (if flimsy) to prevent chicken escape.
Final Word
Building a DIY grazing box for your chickens is a smart way to save money but an effective idea. By offering a variety of plants, you ensure their diet is balanced and nutritious. Remember to build the box with care, safety, and convenience. Planting and maintaining the box is also simple and rewarding.
With a little creativity and attention to detail, you can create a space that keeps chickens happy and healthy. So, let’s get started on building their very own food station!