15 Ideal DIY Chicken Coop Plans for Your Backyard
Thinking about raising chickens in your backyard? A well-designed coop is essential. It keeps your flock safe, healthy, and happy.
But what ideas of chicken coop for the backyard can be ideas? This article presents 15 DIY chicken coop plans for your backyard. These range from beginner-friendly designs to spacious options for larger flocks. The plans include basic coops, mobile designs, and eco-friendly options. There are also plans for urban settings, recycled materials, and multi-level coops.
Whether you want something cheap and easy or more elaborate, you’ll find it here. Each plan comes with a materials list and step-by-step guide. Let’s get your favorite plan!
Table of Contents
15 DIY Chicken Coop Plans for Backyard
Thinking about raising chickens in your backyard? A well-designed coop is a must-have for keeping your flock safe, healthy, and happy.
Whether you’re looking for DIY chicken coop plans that are cheap and easy, or something more elaborate, I’ve got you covered. We have these 15 DIY chicken coop plans, ranging from beginner-friendly designs to spacious options for larger flocks.
#1: The Basic Backyard Coop

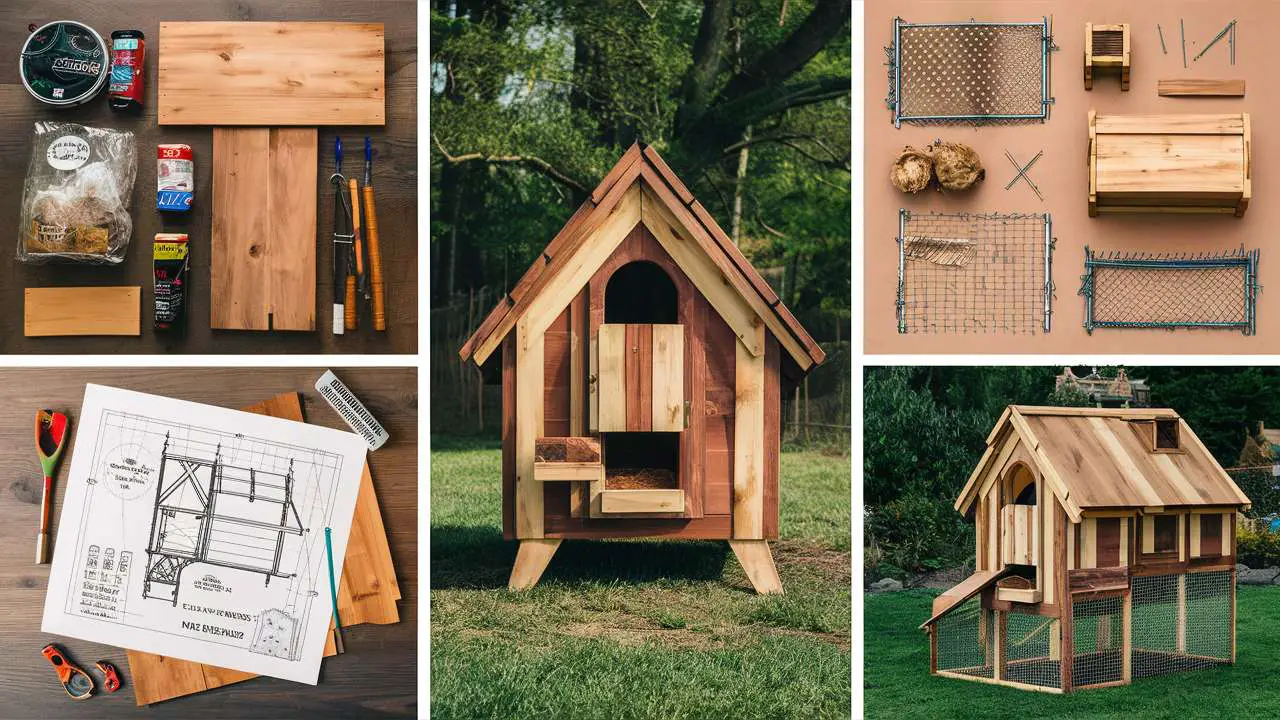
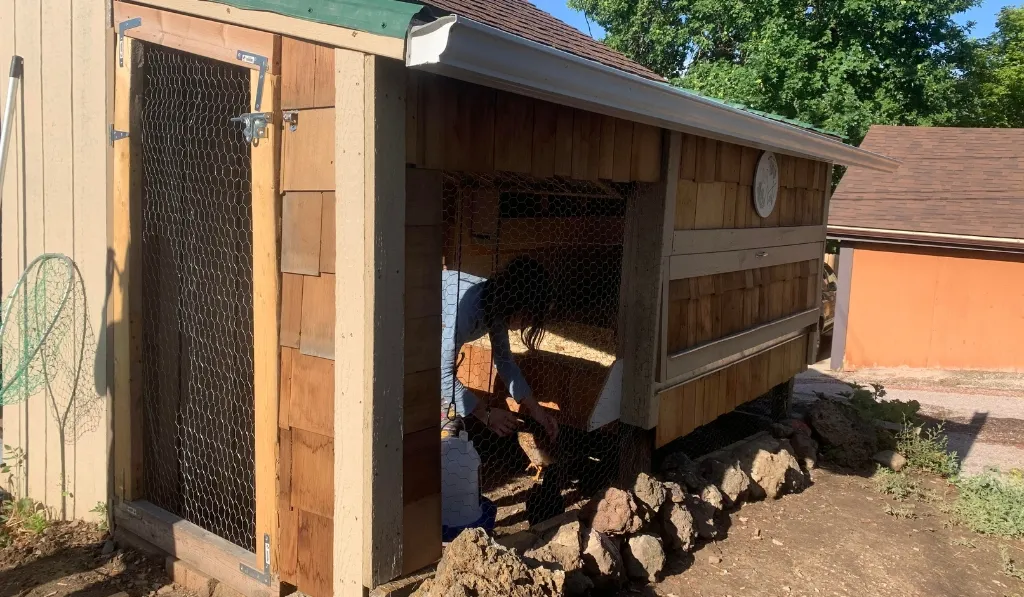
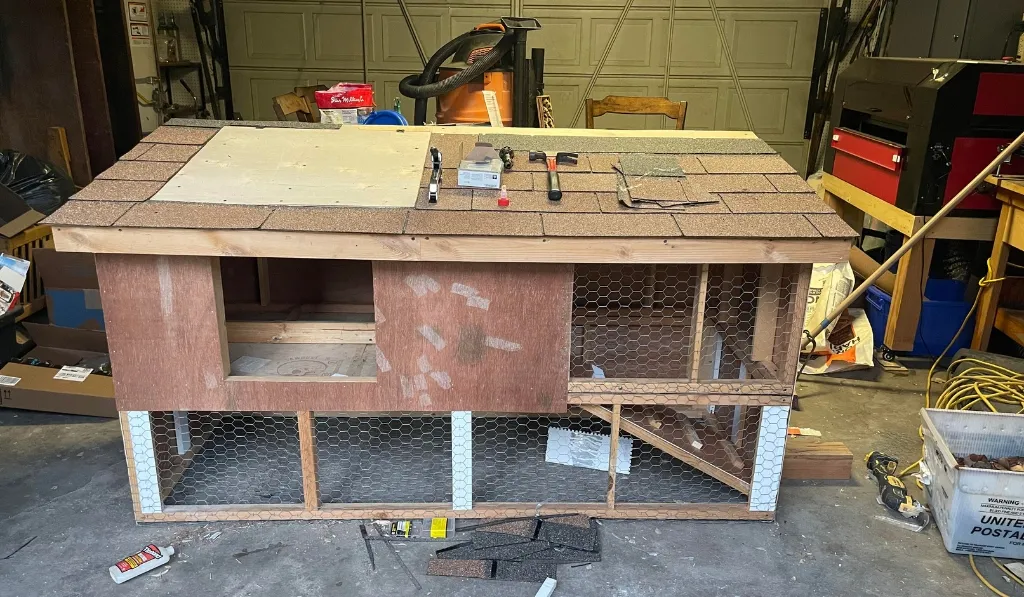
Overview: If you’re new to raising chickens, the Basic Backyard Coop is a perfect place to start. This simple design is easy to build and doesn’t require advanced carpentry skills, making it ideal for beginners.
Materials Needed:
- Wooden planks
- Chicken wire
- Nails and screws
- Hinges for the door
- Roofing material
Step-by-Step Guide:
- Build the Base: Start by constructing a sturdy base using wooden planks. Ensure it’s slightly elevated to protect from moisture.
- Frame the Walls: Use more wooden planks to frame the walls, leaving space for a door and ventilation.
- Attach the Wire: Secure chicken wire around the frame to keep predators out.
- Add the Roof: Install a slanted roof using durable roofing material to allow rain runoff.
- Install the Door: Attach the door with hinges, ensuring it closes securely.
#2: The Mobile Coop
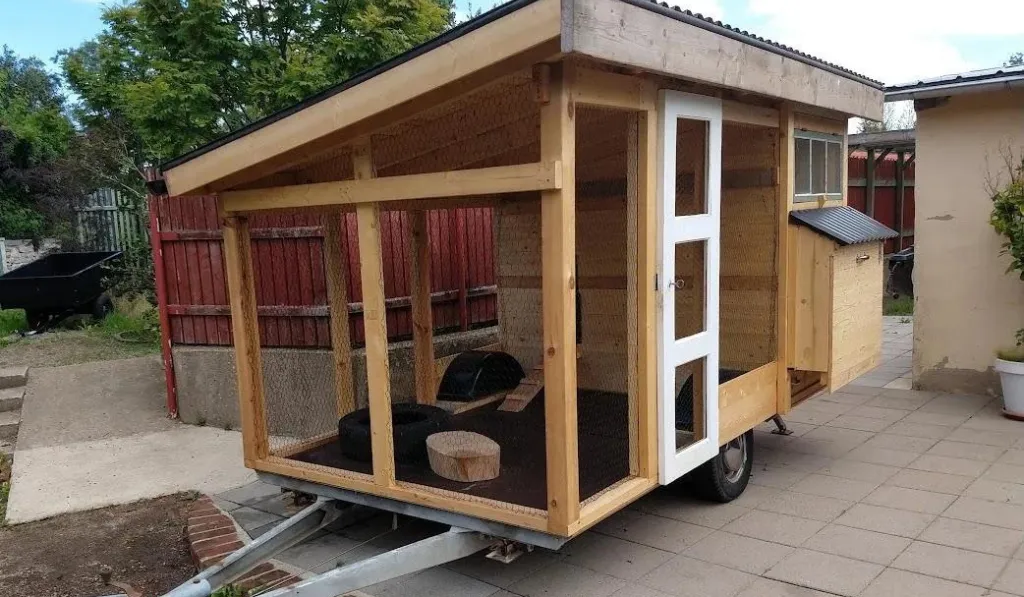
The Mobile Coop is perfect if you want to move your chickens around the yard. It’s designed to be portable, so your flock can enjoy fresh grass daily without you needing to carry them.
Materials Needed:
- Lightweight wood for the frame
- Wheels (two large, two small)
- Chicken wire
- Roofing material
Step-by-Step Guide:
- Build the Frame: Construct a rectangular frame with lightweight wood.
- Attach Wheels: Secure two large wheels to one end and two smaller ones to the other to make it easy to move.
- Add the Wire and Roof: Wrap chicken wire around the frame and add a roof.
- Install a Handle: Attach a handle to the front for easy pulling.
#3: The Urban Coop
Limited on space? The Urban Coop is designed for small backyards and urban settings. Its compact size doesn’t sacrifice functionality, making it perfect for city dwellers.
Materials Needed:
- Plywood sheets
- Chicken wire
- Screws and nails
- Small hinges
- Roofing material
Step-by-Step Guide:
- Cut the Plywood: Measure and cut the plywood to form the walls and floor.
- Assemble the Frame: Nail the plywood together to create the basic structure.
- Install the Wire and Roof: Wrap chicken wire around the open areas and secure the roof.
- Add a Small Door: Attach a door with small hinges for easy access to the coop.
#4: The Recycled Materials Coop
For those who are eco-conscious, the Recycled Materials Coop is a fantastic option. This design uses materials you might already have, making it both budget-friendly and sustainable.
Materials Needed:
- Recycled wood or pallets
- Old windows or doors
- Chicken wire
- Screws and nails
Step-by-Step Guide:
- Gather Materials: Collect old wood, windows, and doors from previous projects or salvage yards.
- Construct the Frame: Use recycled wood to build the coop’s frame.
- Install the Wire: Wrap chicken wire around the open areas.
- Add Recycled Windows or Doors: Install old windows or doors to complete the structure.
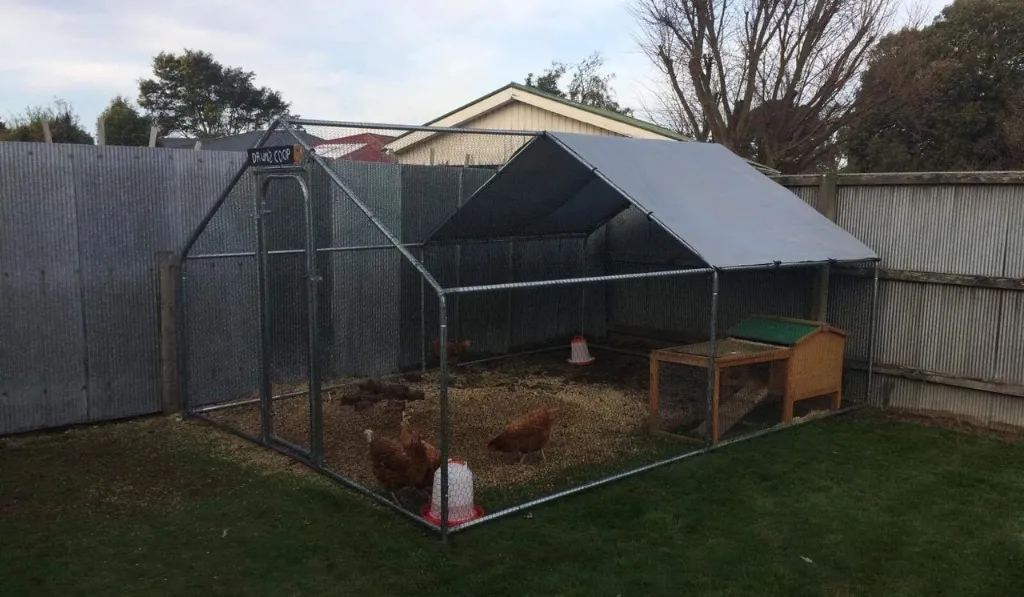
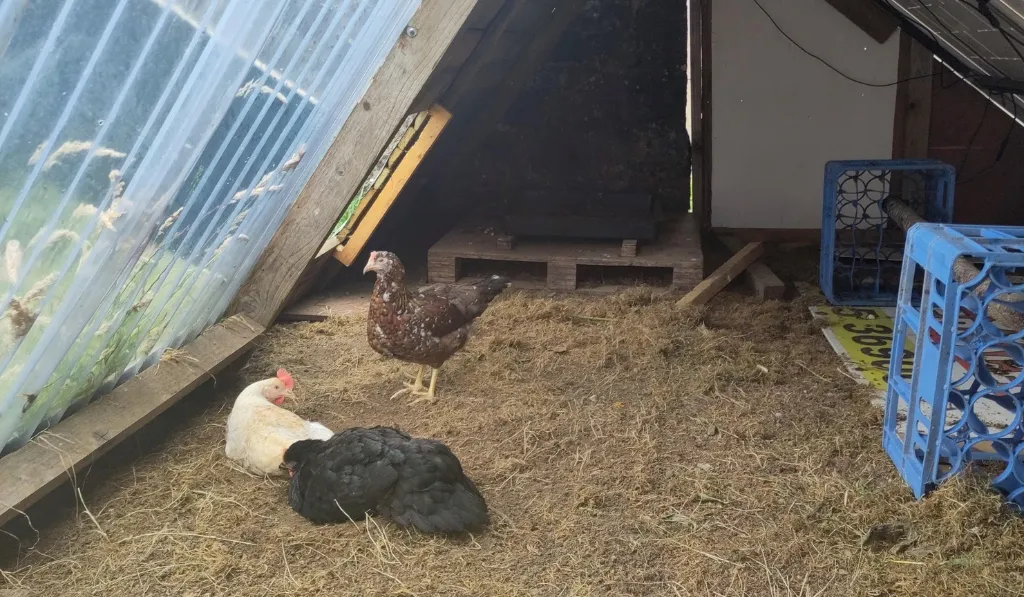
#5: The A-Frame Coop
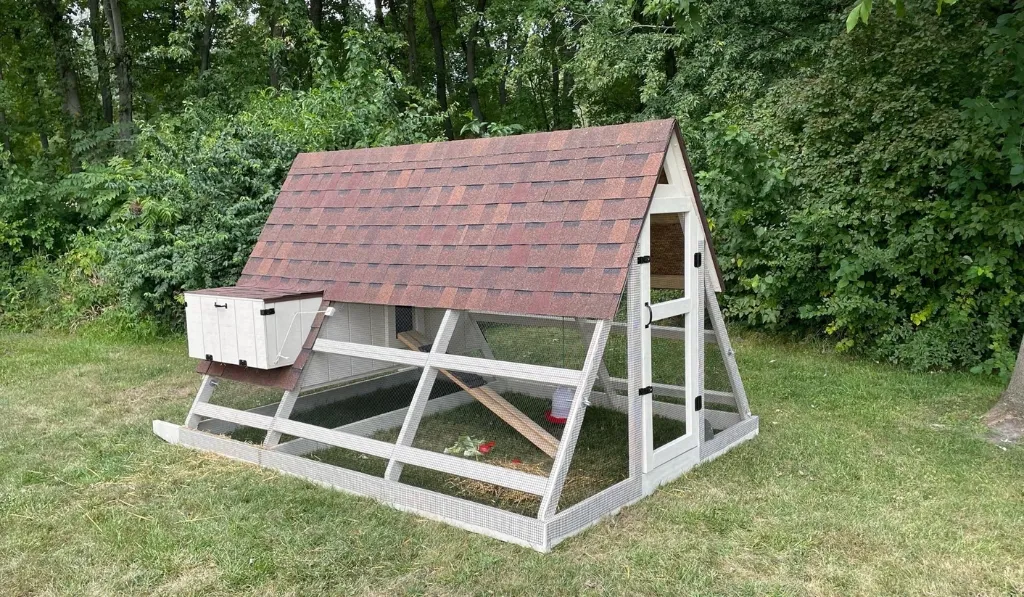
The A-Frame Coop is a simple yet effective design that provides ample space and is easy to construct. Its triangular shape allows for excellent rain runoff, making it ideal for wet climates.
Materials Needed:
- Plywood sheets
- Chicken wire
- Screws and nails
- Roofing material
Step-by-Step Guide:
- Cut the Plywood: Measure and cut the plywood into triangular shapes.
- Assemble the A-Frame: Nail the plywood together to form the A-frame structure.
- Install the Wire and Roof: Secure chicken wire around the open areas and add a roof.
#6: The Pallet Coop
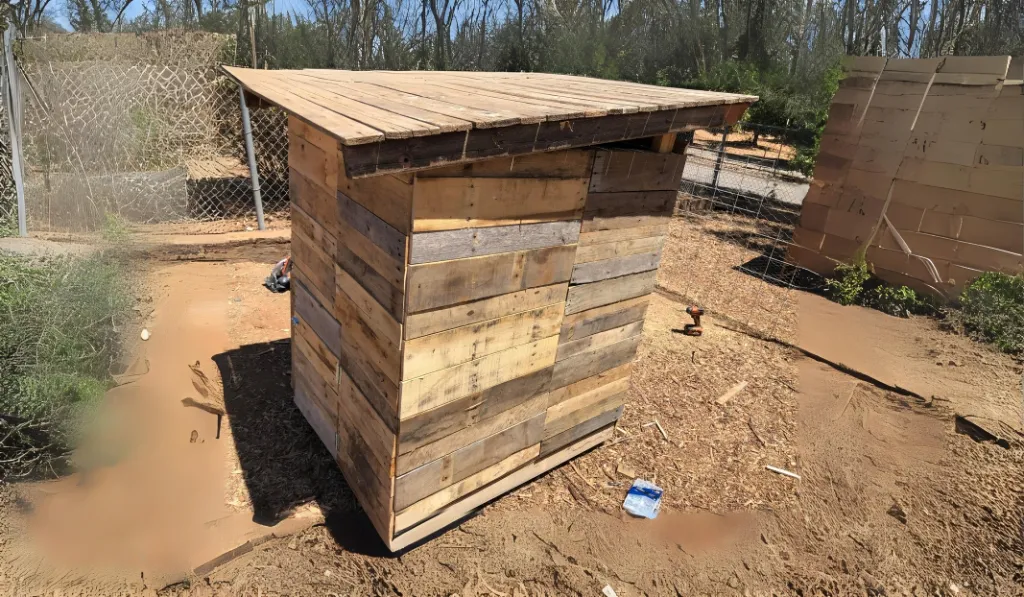
The Pallet Coop is a budget-friendly option using readily available pallets. This DIY chicken coop plan is cheap, easy, and quick to build, making it perfect for those on a budget.
Materials Needed:
- Wooden pallets
- Chicken wire
- Screws and nails
- Roofing material
Step-by-Step Guide:
- Disassemble the Pallets: Take apart the pallets to use the wood.
- Build the Frame: Use the pallet wood to create the coop’s frame.
- Install the Wire and Roof: Wrap chicken wire around the open areas and secure the roof.
#7: The Greenhouse Coop
The Greenhouse Coop is a dual-purpose design that combines a chicken coop with a greenhouse. This innovative plan is perfect for gardeners who also raise chickens.
Materials Needed:
- Greenhouse plastic or glass
- Wooden planks
- Chicken wire
- Screws and nails
Step-by-Step Guide:
- Construct the Frame: Build a sturdy wooden frame.
- Add the Greenhouse Covering: Install greenhouse plastic or glass on one side.
- Install the Wire and Roof: Secure chicken wire on the other side and add a roof.
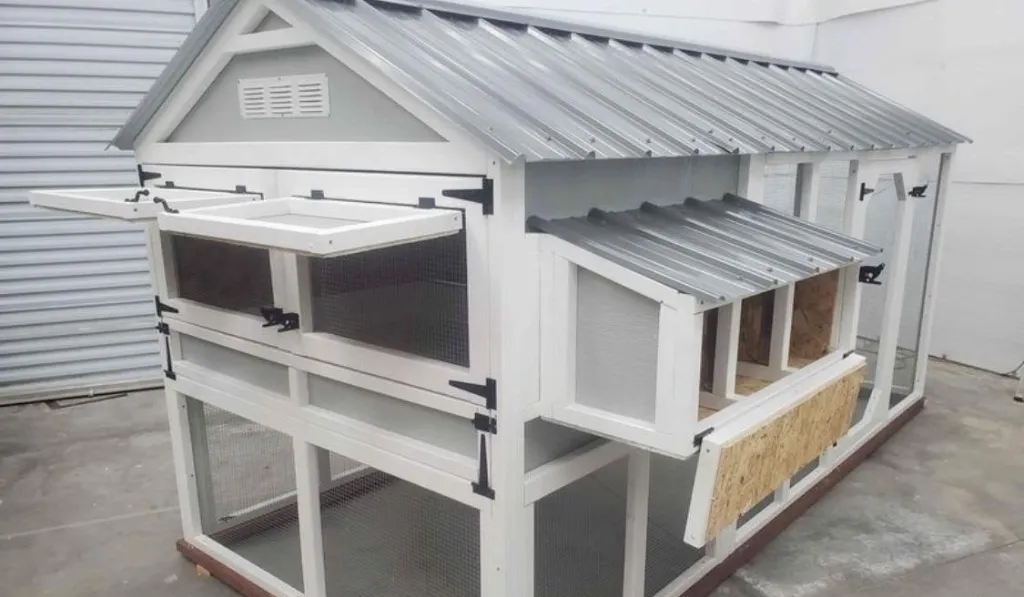
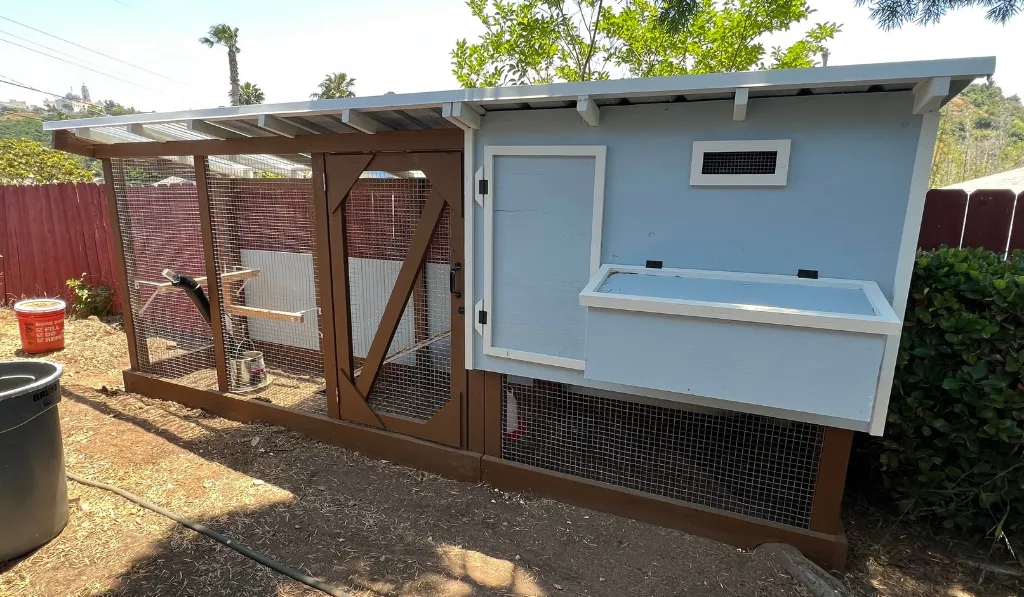
#8: The Cottage Coop

The Cottage Coop is designed with aesthetics in mind. This charming coop will not only house your chickens but also add a decorative element to your backyard.
Materials Needed:
- Plywood sheets
- Decorative wood trim
- Chicken wire
- Screws and nails
- Roofing material
Step-by-Step Guide:
- Cut the Plywood: Measure and cut the plywood to form the coop’s walls and floor.
- Add Decorative Trim: Attach decorative wood trim to the exterior.
- Install the Wire and Roof: Wrap chicken wire around the open areas and secure the roof.
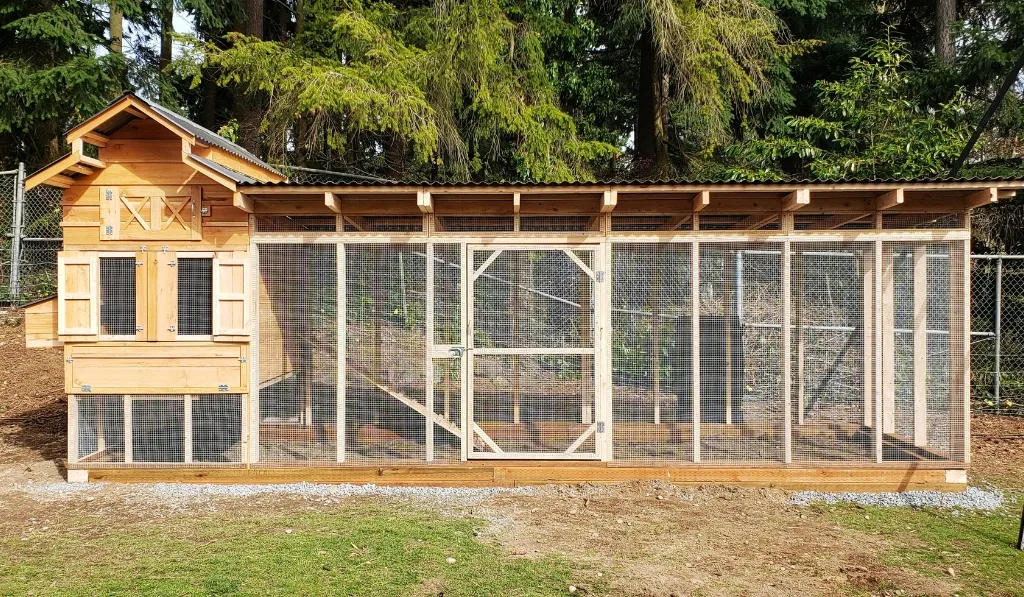
#9: The Barn-Style Coop
Overview: The Barn-Style Coop is a larger design ideal for those with a big flock. If you need DIY chicken coop plans for 30 chickens or more, this is the plan for you.
Materials Needed:
- Large wooden beams
- Chicken wire
- Screws and nails
- Roofing material
Step-by-Step Guide:
- Construct the Frame: Use large wooden beams to build a spacious frame.
- Install the Wire and Roof: Wrap chicken wire around the open areas and add a roof.
- Add a Large Door: Ensure the door is wide enough for easy access.
#10: The Multi-Level Coop
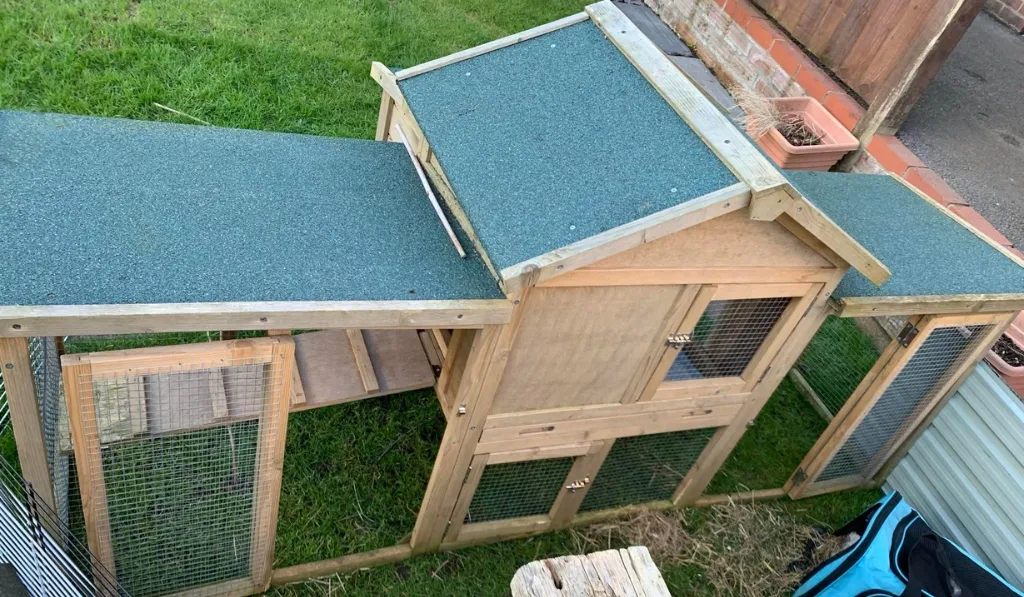
Need more space without expanding your footprint? The Multi-Level Coop is designed with multiple levels, providing your chickens with plenty of room.
Materials Needed:
- Plywood sheets
- Chicken wire
- Screws and nails
- Roofing material
Step-by-Step Guide:
- Build the Base: Start with a strong base using plywood.
- Add the Levels: Construct additional levels within the coop.
- Install the Wire and Roof: Secure chicken wire around the open areas and add a roof.
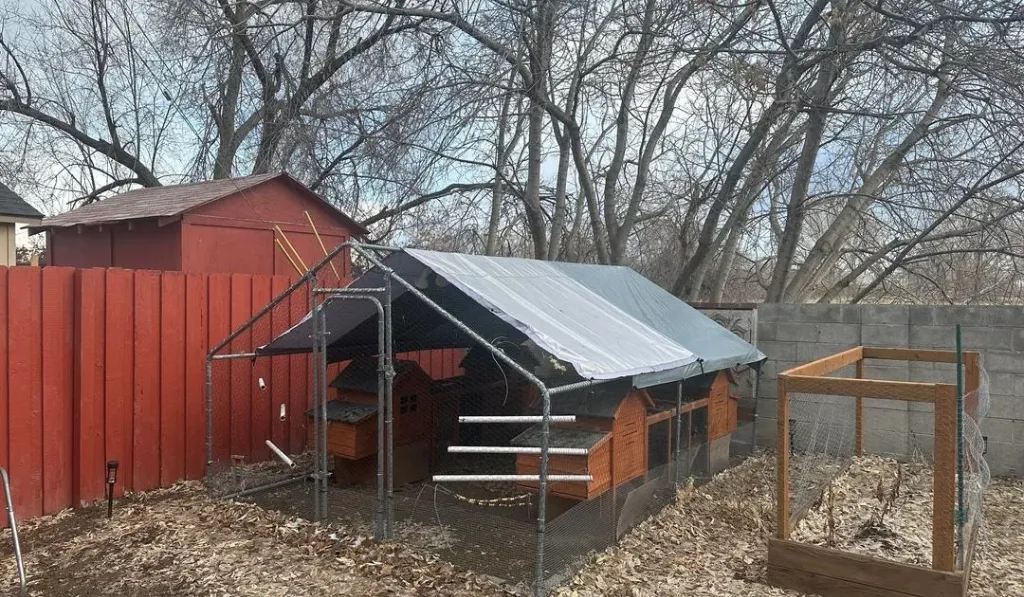
#11: The Predator-Proof Coop
The Predator-Proof Coop focuses on safety, ensuring your chickens are well-protected from predators. This design is ideal for those living in areas with a high risk of predators.
Materials Needed:
- Heavy-duty wood
- Reinforced chicken wire or hardware cloth
- Screws and nails
- Roofing material
Step-by-Step Guide:
- Build the Frame: Use heavy-duty wood to create a strong frame.
- Install Reinforced Wire: Wrap the coop with reinforced chicken wire or hardware cloth.
- Add a Secure Roof: Ensure the roof is tightly secured to prevent entry from above.
#12: The Solar-Powered Coop
The Solar-Powered Coop is an eco-friendly option that utilizes solar energy. This DIY chicken coop plan is perfect for those looking to minimize their carbon footprint.
Materials Needed:
- Solar panels
- Plywood sheets
- Chicken wire
- Screws and nails
- Roofing material
Step-by-Step Guide:
- Build the Base and Frame: Construct the base and frame using plywood.
- Install Solar Panels: Attach solar panels to the roof to power lights or heaters inside the coop.
- Install the Wire and Roof: Wrap chicken wire around the open areas and secure the roof.
#13: The Compact Coop with Run
The Compact Coop with Run idea is a small design with an attached run, providing your chickens with a safe space to roam. This plan is perfect for those with limited space.
Materials Needed:
- Plywood sheets
- Chicken wire
- Screws and nails
- Roofing material
Step-by-Step Guide:
- Construct the Coop: Build the main coop structure using plywood.
- Add the Run: Attach a small run to the side of the coop using chicken wire.
- Install the Roof: Ensure the entire structure is covered with a durable roof.
#14: The Elevated Coop
The Elevated Coop is raised off the ground, which helps with drainage and predator protection. This design is great for wet climates or areas with predators.
Materials Needed:
- Wooden planks
- Chicken wire
- Screws and nails
- Roofing material
Step-by-Step Guide:
- Build the Base: Construct a raised base using wooden planks.
- Add the Frame: Attach the frame on top of the base.
- Install the Wire and Roof: Wrap chicken wire around the open areas and add a roof.
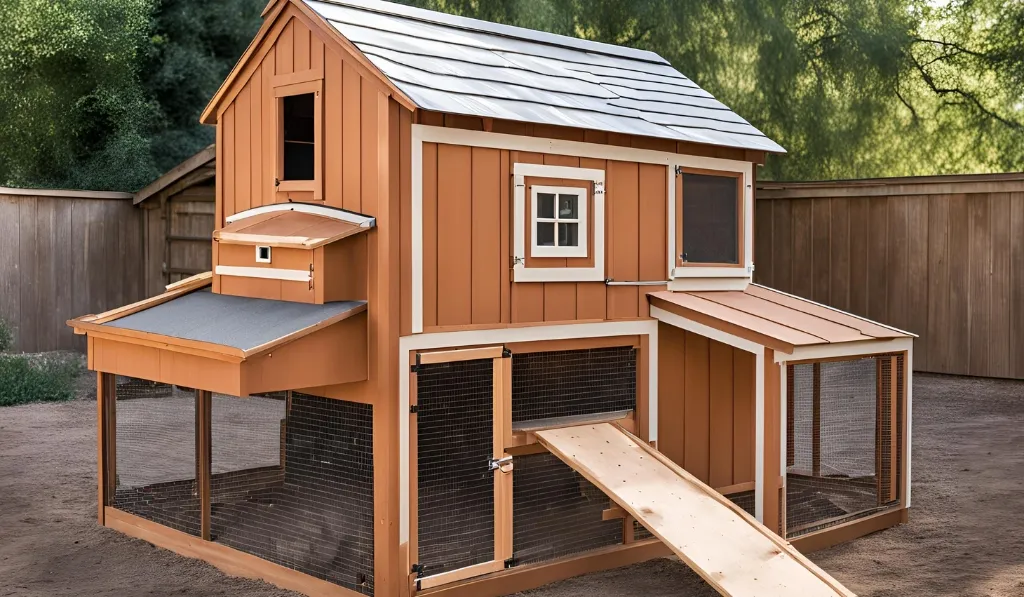
#15: The Deluxe Coop with Storage
The Deluxe Coop with Storage is an advanced design that includes built-in storage for feed and supplies. This plan is ideal for those looking for a convenient all-in-one solution.
Materials Needed:
- Plywood sheets
- Chicken wire
- Screws and nails
- Roofing material
- Storage bins or shelves
Step-by-Step Guide:
- Build the Main Coop: Construct the main coop structure using plywood.
- Add Storage Areas: Incorporate storage bins or shelves within the coop.
- Install the Wire and Roof: Wrap chicken wire around the open areas and secure the roof.
You can see the video about chicken coop to build it properly.
FAQs
Want to know more about making your favorite chicken coop plans? Here are some questions with answers.
How much space do I need for a chicken coop?
The size depends on the number of chickens, but a general rule is 4 square feet per chicken.
What materials are best for a chicken coop?
Wood is the most common material, but you can also use metal or plastic.
Do I need permits to build a chicken coop?
Check local zoning laws. Some areas require permits.
Final Word
Building your chicken coop can be a rewarding project as it allows you to customize the design to fit your needs and space. With these 15 DIY plans, you have plenty of options to choose from.
When selecting a design, remember to consider your local climate and predator risks. Also, always check local regulations before starting your build. With the right plan and some effort, you’ll soon have a safe, comfortable home for your chickens.