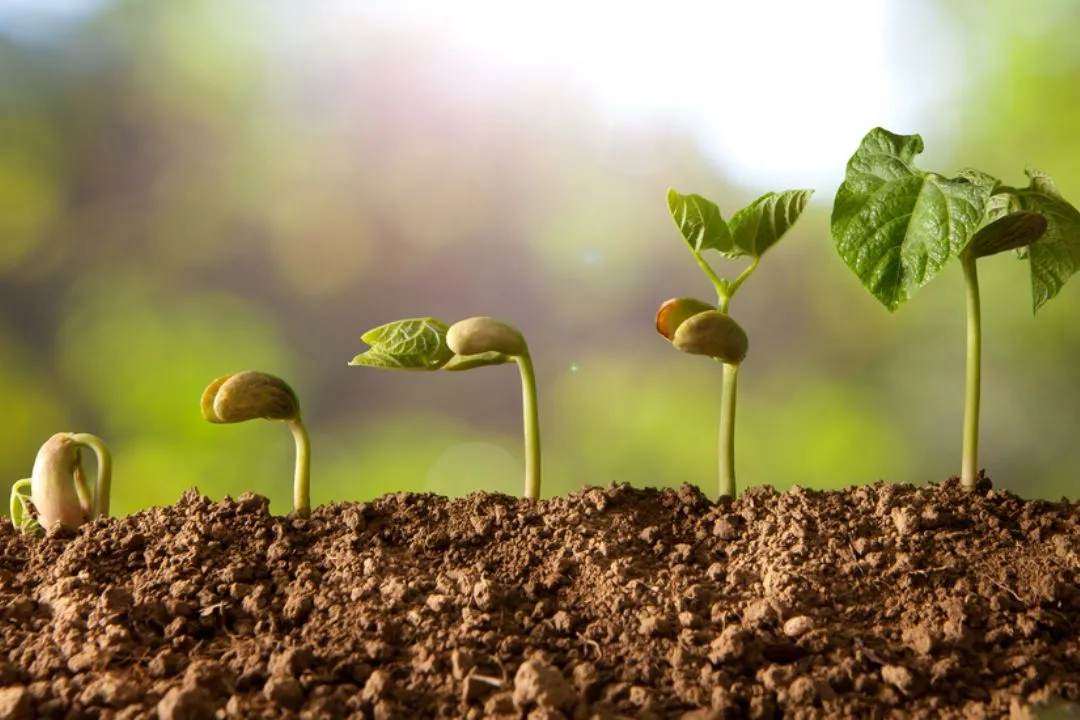
Don’t Let These 11 Seed-Starting Mistakes That Can Ruin Your Garden
Successful seed starting requires careful attention to detail. So, knowing what are the common mistakes you make, will help you know what actually happened. Then, you can solve the seed starting problem with proper care.
I’ll talk about 11 seed-starting mistakes here. Common pitfalls, such as overwatering and inadequate light, significantly impact seedling growth and development. Besides, soil, improper temperature, old seeds, and some others are to blame. Also, I’ll provide essential strategies to optimize seed germination and cultivation.
Want to learn more about seed starting mistakes that ruin your garden? Keep on reading this article to learn how to resolve such difficulties during gardening!
Table of Contents
11 Common Seed Starting Mistakes That Can Damage Your Garden
Let’s cut to the chase. Here are 11 common errors that can hinder your seed starting success. Avoid these pitfalls for healthier, stronger seedlings.
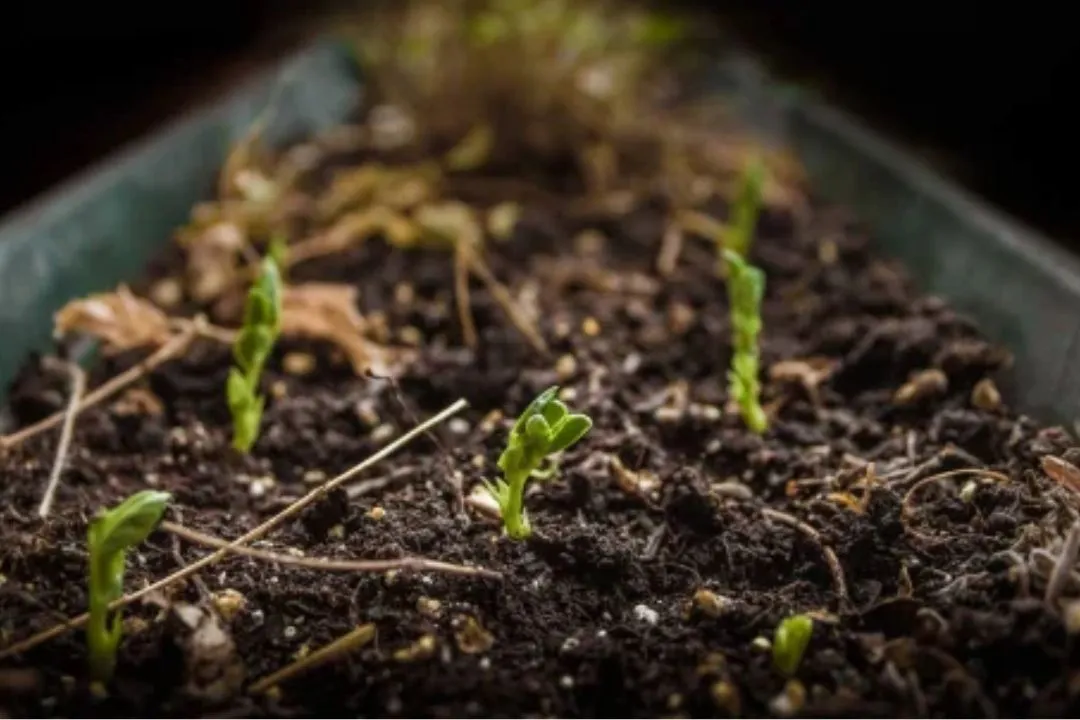
1. Overwatering
One of the most common mistakes is overwatering.

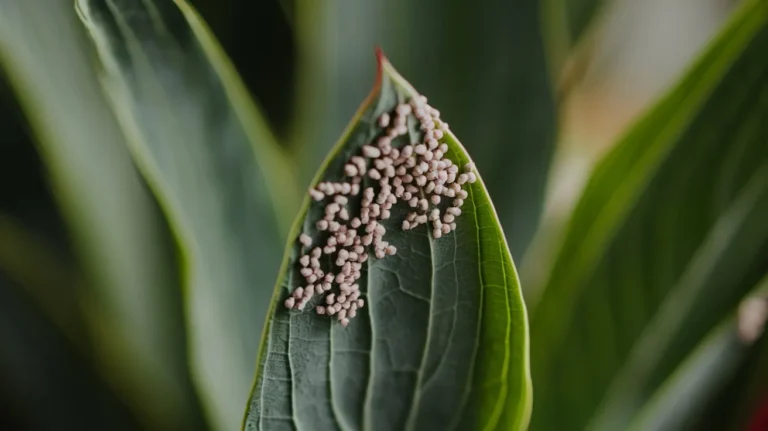
Seeds need moisture to germinate, but too much water can drown them and lead to fungal diseases like damping off. This disease causes seedlings to collapse and die. Overwatering can also wash away vital nutrients from the soil.
Fix it: Water your seeds lightly and consistently. Use a spray bottle to mist the soil until it’s damp but not soaking. Ensure your containers have drainage holes to prevent waterlogging. A well-draining seed starting mix can also help maintain the right moisture level.
To monitor moisture, press your finger about an inch into the soil; it should feel damp but not soggy.
2. Insufficient Light
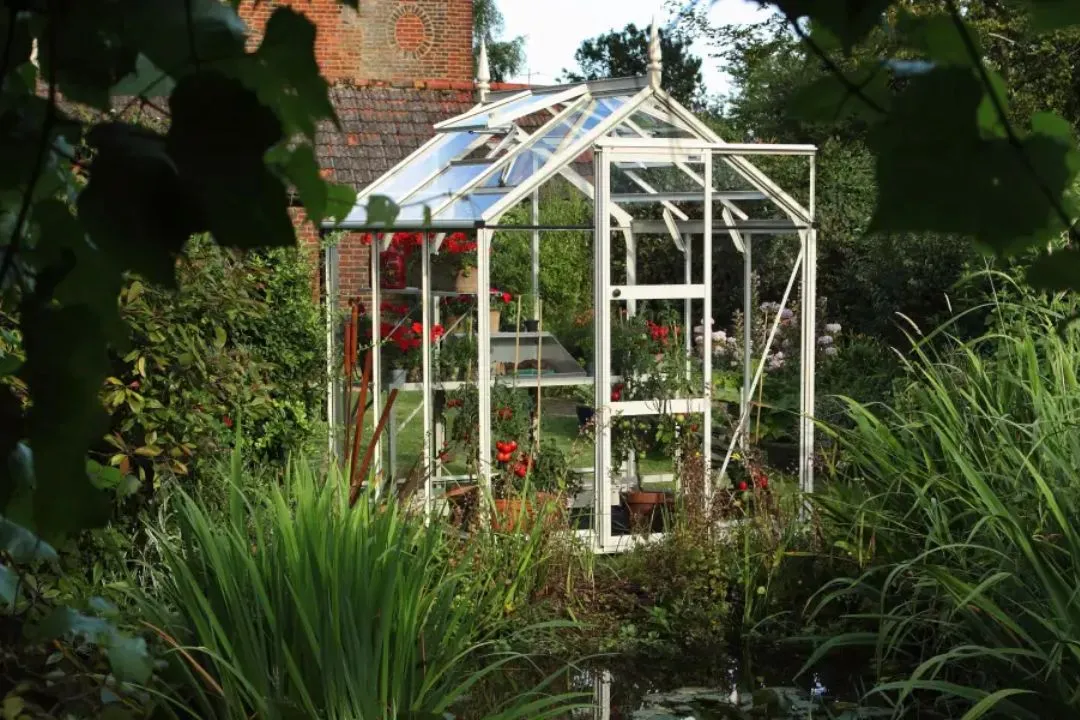
Seeds need light to grow. Without enough light, seedlings can become leggy, stretching towards the light source and becoming weak. This makes them prone to falling over and struggling to develop strong stems.
Fix it: Place your seed trays in a sunny spot, such as a south-facing window. If natural light is limited, use grow lights. Position the lights about 2-4 inches above the seedlings and adjust them as the plants grow.
Aim for 14-16 hours of light per day for optimal growth.
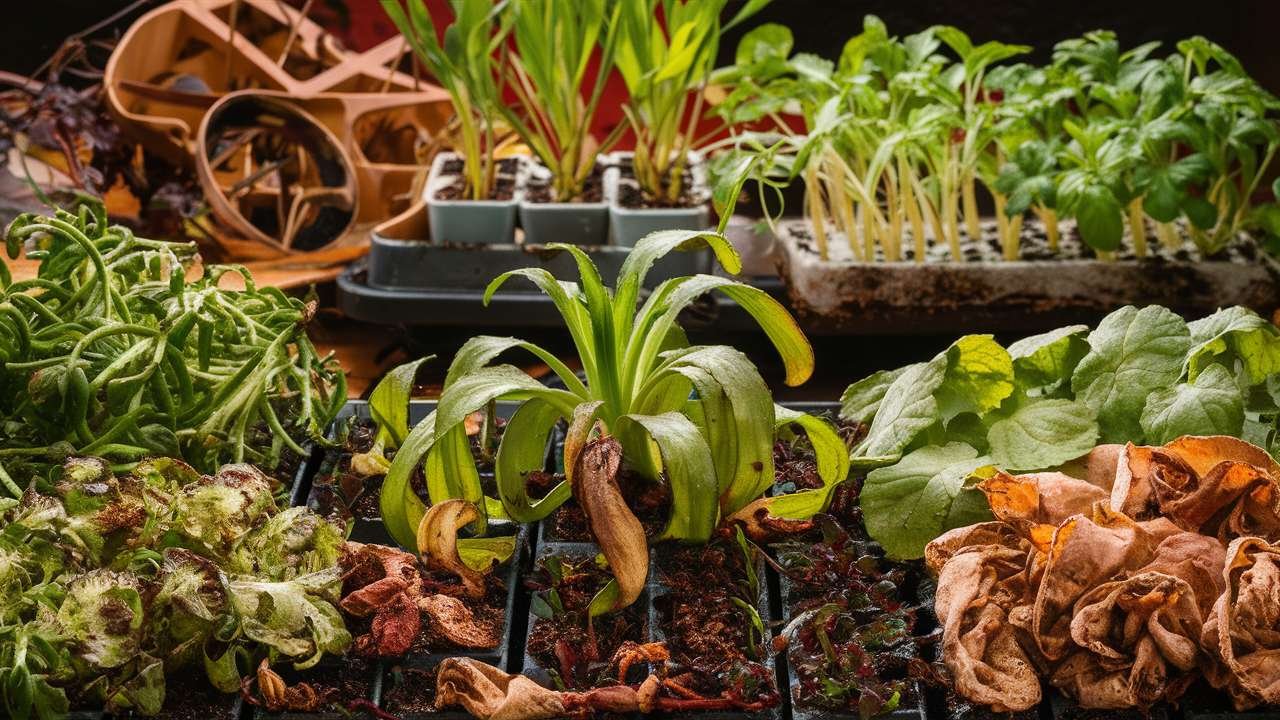
3. Not Using the Right Soil
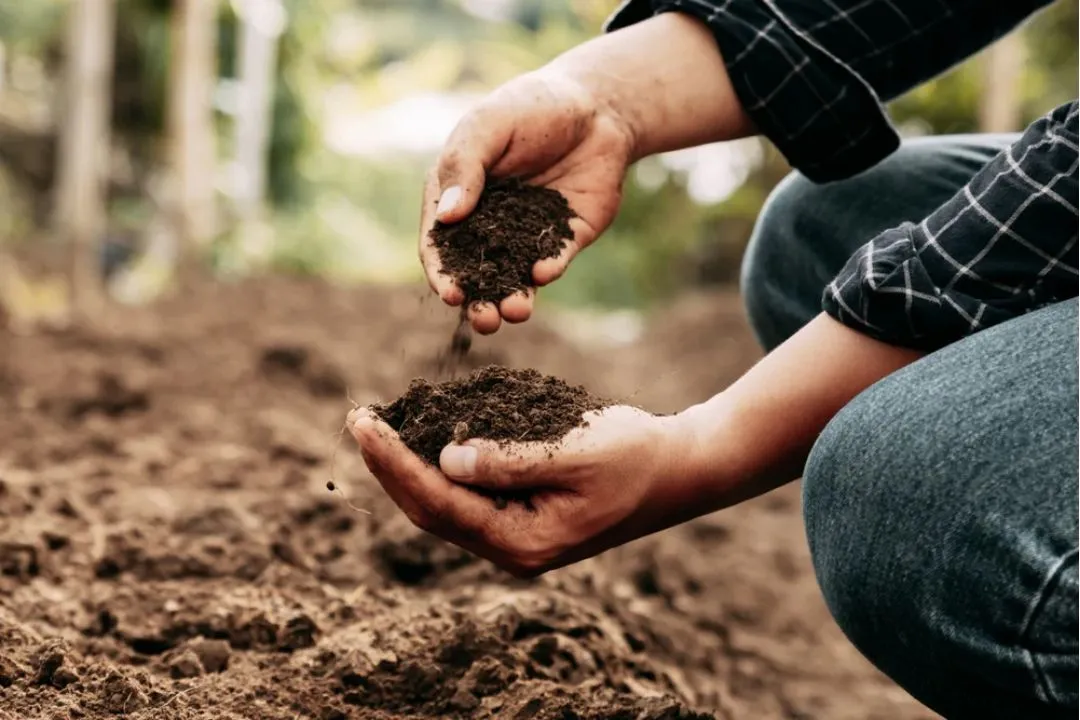
Regular garden soil is often too heavy and can harbor pests and diseases. It compacts easily, which can suffocate young roots and prevent proper root development.
Fix it: Use a light, sterile seed starting mix. This mix provides good drainage and aeration, creating the ideal environment for seeds to sprout. You can also make your own mix by combining equal parts of peat moss, vermiculite, and perlite.
4. Sowing Seeds Too Deep
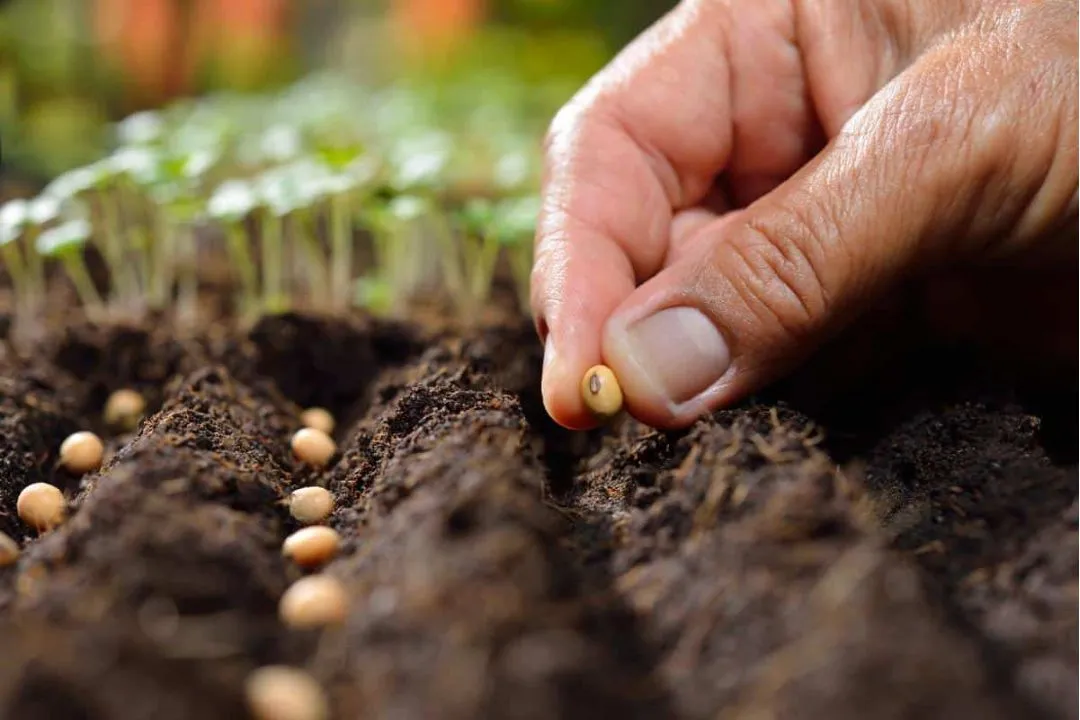
Planting seeds too deep can prevent them from reaching the surface. While planting too shallow can leave them exposed to drying out or being washed away by water.
Fix it: Follow the seed packet instructions carefully. A general rule is to plant seeds at a depth of about twice their width. Small seeds often need only a light dusting of soil on top, while larger seeds can be buried a bit deeper.
5. Improper Temperature
Seeds need the right temperature to germinate. Too cold or too hot, and they might not sprout at all. Temperature affects the speed and success rate of germination.
Fix it: Most seeds germinate well at temperatures between 65-75°F (18-24°C). Use a heat mat to provide consistent warmth if needed, especially for heat-loving plants like tomatoes and peppers. Avoid placing seed trays in drafty areas or near cold windows.
6. Old Seeds aren’t Ideal
Old seeds can have lower germination rates because their viability decreases over time. They may not sprout as well as fresh seeds, leading to poor results.
Fix it: Check the expiration date on your seed packets. If in doubt, do a germination test by placing a few seeds in a damp paper towel, sealing it in a plastic bag, and keeping it in a warm place.
Check for sprouting after a few days to a week. Only use seeds that show strong germination.
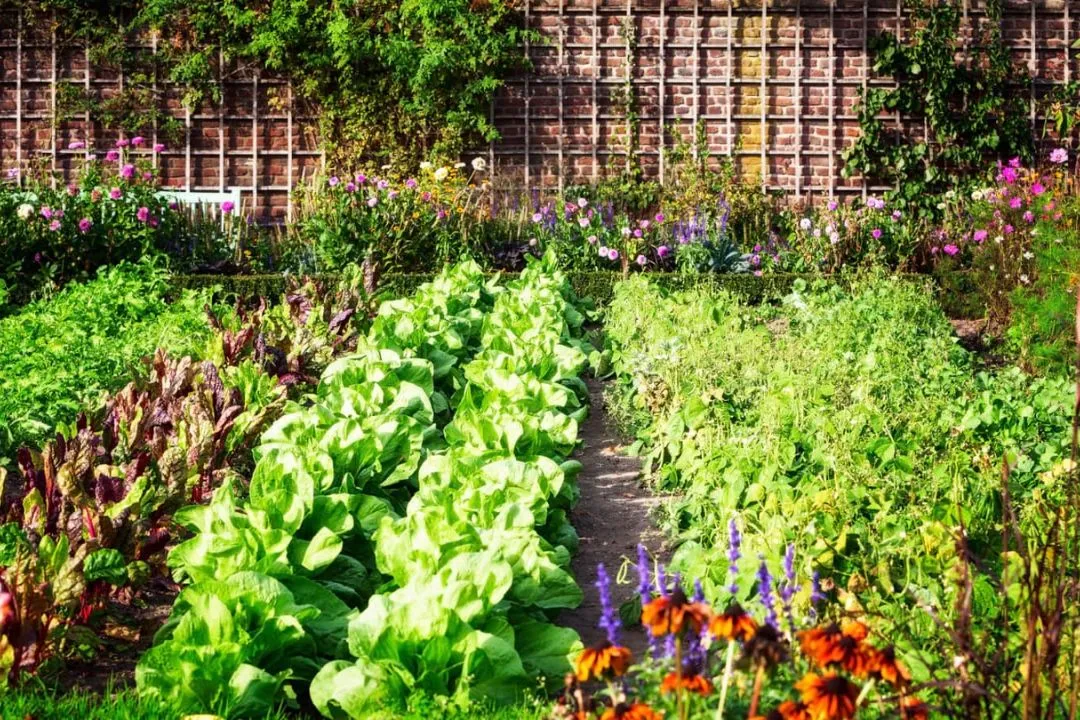
7. Don’t Ignore Plant Spacing
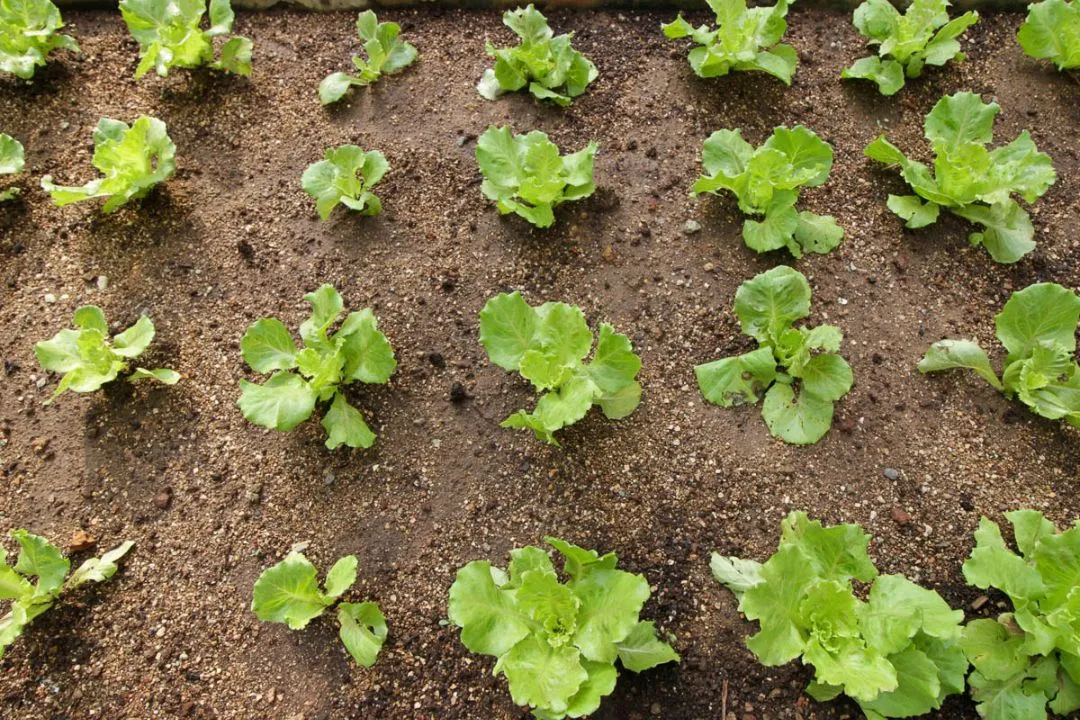
Crowded seedlings compete for light, water, and nutrients. This competition can stunt their growth and make them more susceptible to disease.
Fix it: Thin out seedlings according to the guidelines on the seed packet. This usually involves removing the weaker seedlings to give the stronger ones more space. Use scissors to snip the extras at the soil line to avoid disturbing the roots of the remaining plants.
8. Don’t Neglect to Harden Off
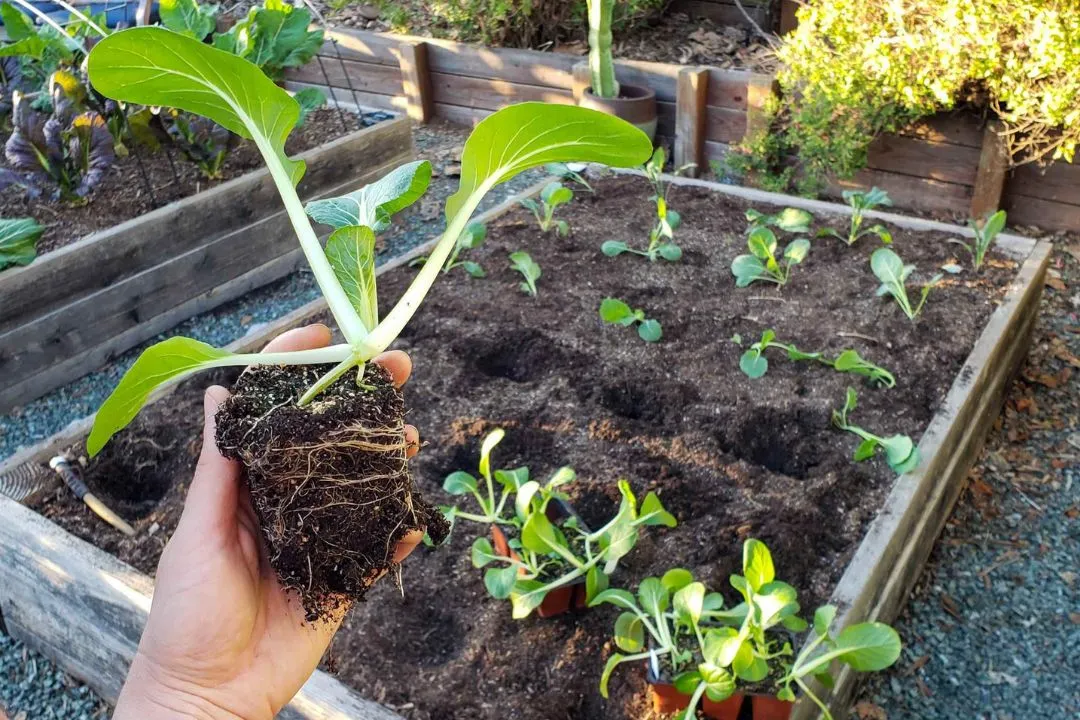
Moving seedlings directly from indoors to outdoors can shock them. They need time to adjust to the new conditions, including wind, sunlight, and fluctuating temperatures.
Fix it: Gradually expose your seedlings to outdoor conditions over a week. Start by placing them outside in a shaded area for a few hours, then gradually increase the time and sunlight exposure each day. Bring them indoors at night if temperatures drop significantly.
9. Balance the Labels Swiftly
It’s easy to mix up different types of seeds, especially when they look similar. Without labels, you might not know what’s what, leading to confusion and improper care.
Fix it: Label your seed trays clearly with the plant name and date of planting. Use waterproof markers or pencils to prevent labels from fading. This helps you track growth and care requirements, ensuring each plant gets the attention it needs.
10. Don’t Lose Hope Too Soon
Seeds can take time to germinate. Some seeds sprout in a few days, while others might take a month or more. Patience is key in seed starting.
Fix it: Be patient and follow the instructions on the seed packet. Keep the soil consistently moist and maintain the right temperature. If seeds haven’t sprouted within the expected time frame, wait a bit longer before giving up.
11. Are Birds a Problem?
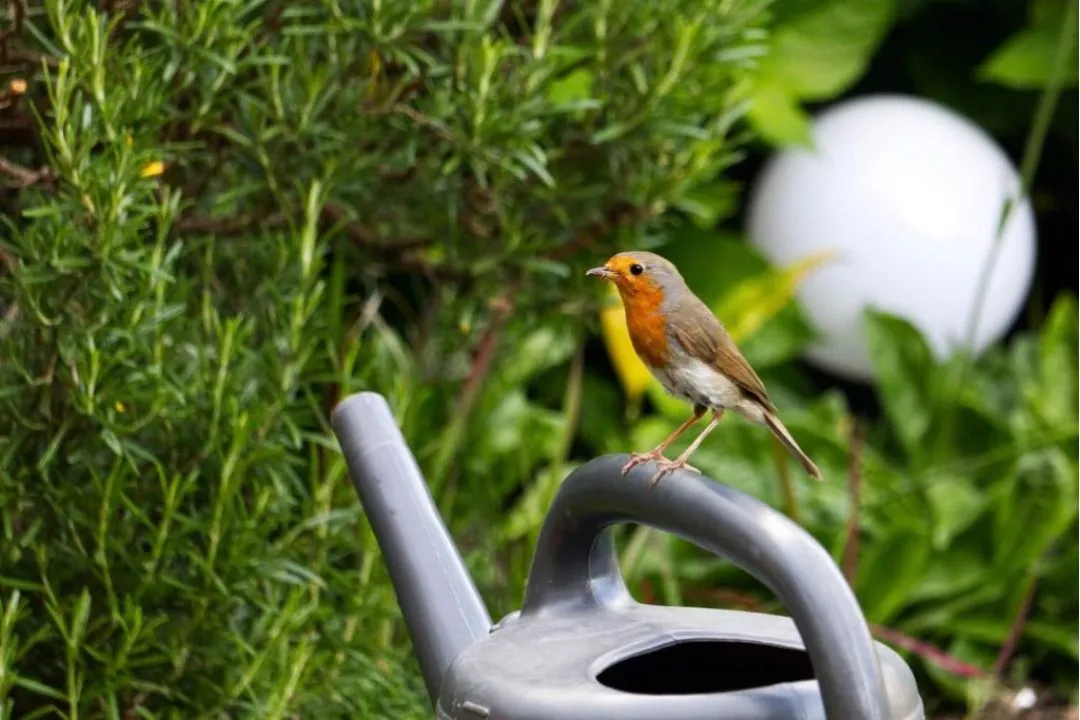
Birds, particularly common backyard species such as sparrows, pigeons, and mynas, can pose challenges for gardeners. While they contribute to pest control, their droppings can contaminate soil and they may consume seeds.
Fix it: To protect seedlings, covering seed trays with fine mesh or netting can deter birds while permitting light and water penetration. Maintaining a clean garden environment can help minimize bird attraction.
In cases of persistent bird interference, the use of bird repellents or scare tactics may be considered.
Related Articles:
FAQs
Here are some frequently asked questions that will help you.
Q: Why are my seedlings so thin and leggy?
Leggy seedlings are usually caused by insufficient light. Make sure your seedlings are getting enough light by placing them in a sunny spot or under grow lights. Keep the lights close to the seedlings, but not touching.
Q: What temperature is best for seed germination?
Most seeds germinate well at temperatures between 65-75°F (18-24°C). Use a heat mat if needed to maintain consistent warmth, especially for heat-loving plants like tomatoes and peppers.
Q: Can I use garden soil for starting seeds?
Regular garden soil is too heavy and can harbor pests and diseases. Use a light, sterile seed starting mix that provides good drainage and aeration.
Conclusion
Mastering the art of seed starting takes practice, but understanding common pitfalls is a great starting point. By avoiding these 11 mistakes, you’ll be well on your way to growing healthy, vibrant plants.
Remember, every garden is unique, and what works for one plant might not work for another. Don’t be afraid to experiment and learn from your experiences. Patience and observation are key to nurturing healthy plants.
With time and care, you’ll develop your own seed-starting techniques and enjoy the satisfaction of watching your garden thrive. Be fair to your seeds!