11 Bedroom False Ceiling Designs with Fan That Blend Function and Clean Lines

A false ceiling (or dropped ceiling) in a bedroom typically lowers the original height by 6 to 12 inches, creating space for recessed lighting, wiring, or HVAC—but it must also accommodate a ceiling fan safely and stylishly.
Most residential bedrooms range from 10’x10′ to 14’x16′, and fans require minimum 7’6″ clearance from floor to blade per U.S. building codes.
These 11 designs focus on structural safety, visual balance, and airflow—so your fan cools effectively without dominating the room.
Why Integration Matters
Fan support requires reinforcement: Standard drywall can’t hold a fan—mounting must tie into a junction box secured to a ceiling joist or support brace.
Lowered ceilings reduce volume: In rooms under 8’6″ post-installation, avoid bulky designs that feel oppressive.
Airflow needs space: Blades should sit at least 18″ below the ceiling surface for optimal circulation.
Style follows structure: The best designs hide mechanics while making the fan look intentional—not an afterthought.
11 Bedroom False Ceiling Designs with Fan That Blend Function and Clean Lines
All concepts assume standard 8’–9′ original ceiling height and a single ceiling fan.
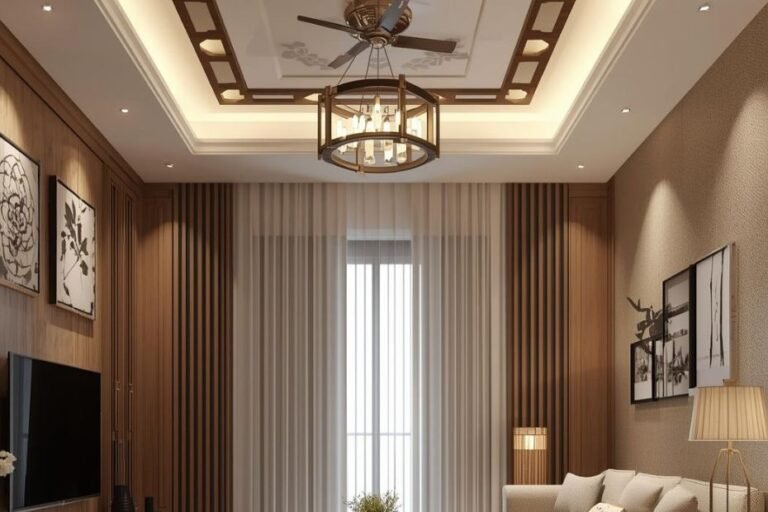
1. Recessed Center Panel with Integrated Fan
Create a central rectangular panel (4’x4′ to 6’x6′) lowered 6″–8″ below the perimeter ceiling. Mount the fan in the center of this recess. The drop provides clearance while keeping the fan visually grounded.
Use cove lighting around the inner edge for soft ambient glow. Ideal for rooms 12’x12′ or larger.
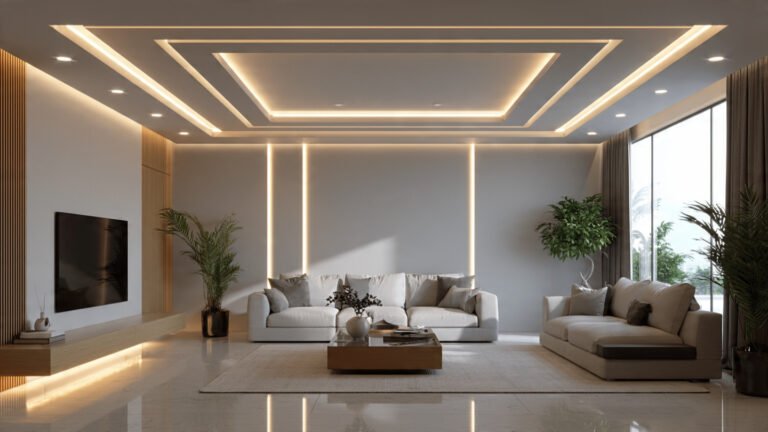
2. Perimeter Tray Ceiling with Fan in Main Plane
Lower only the outer 12″–18″ of the ceiling by 4″–6″, leaving the center at original height. Install the fan in the higher central zone—no extra drop needed.
Keeps ceiling volume open while adding architectural detail. Works in bedrooms as small as 10’x10′.
3. Coffered Ceiling with Fan in Central Cofferd
Build shallow beams (3″–4″ deep) to form a grid or single central coffer. Place the fan inside the main coffer. Keep beam depth minimal to avoid lowering overall height too much.
Use matte white paint to reduce visual weight. Best in rooms with 9’+ original ceilings.
4. Sloped False Ceiling for Vaulted Rooms
In vaulted bedrooms, add a flat false ceiling section (6’x6′) only where the fan will go—lowered to 8’–8’6″ for ideal blade height. Surrounding ceiling remains sloped.
Preserves the drama of vaulted ceilings while ensuring safe, effective fan placement.
5. Minimalist Flat Drop with Flush-Mount Fan
Lower the entire ceiling by 6″ uniformly. Use a low-profile or flush-mount fan (hugger style) that sits within 10″ of the ceiling surface.
Best for rooms with 9’+ original height. Avoid in spaces under 8’6″ post-drop—feels cramped.
6. Asymmetrical Drop for Zoned Lighting + Fan
Lower one half of the ceiling (e.g., over the bed) by 8″, keep the other half high. Place the fan in the lower zone near the foot of the bed for optimal airflow over sleeping area.
Creates functional zoning—lighting over bed, airflow at foot. Requires careful layout planning.
7. Curved Cove Ceiling with Central Fan
Form a soft curved cove where wall meets ceiling, dropping the center by 6″–8″. Mount fan in the flat center. The curve diffuses light and softens the drop.
Adds elegance without sharp lines. Use LED strip lighting in the cove for indirect glow.
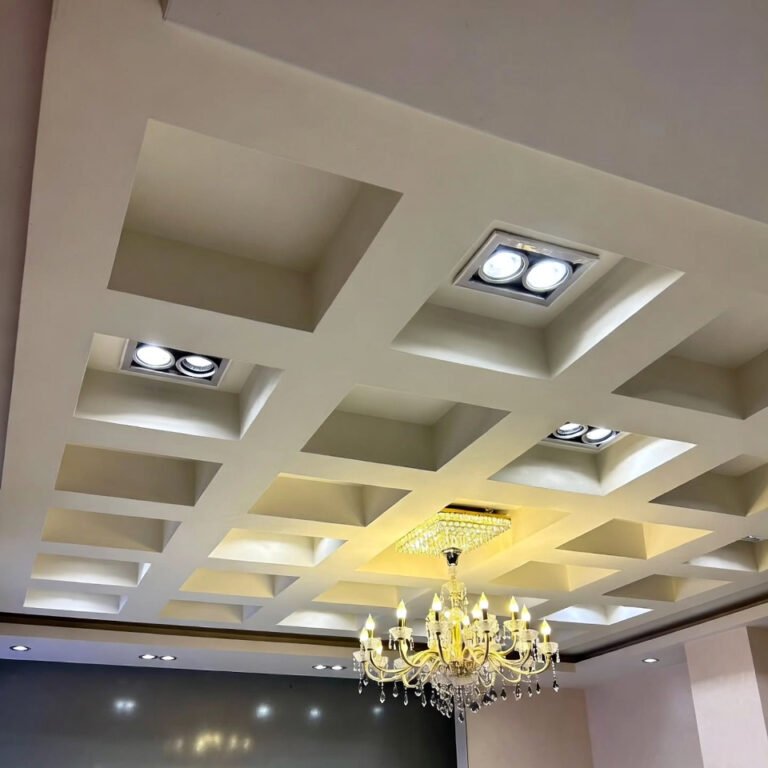
8. Grid Panel Ceiling with Fan in Open Bay
Install a 2×2 or 3×3 grid of square panels, each lowered 4″–6″. Leave the center bay open (no panel) and mount the fan there—blades extend below the grid plane.
Ensures full airflow while adding pattern. Keep grid lines clean and painted matte white.
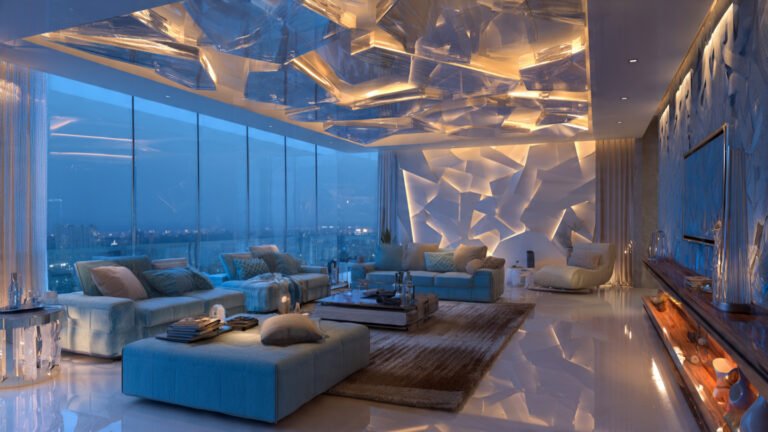
9. Floating Ceiling with Hidden Perimeter Lighting
Lower a central ceiling panel by 6″, but leave a 2″–3″ gap between it and the walls. Hide LED strips in the gap for floating effect. Mount fan in the center of the floating panel.
Creates modern levitation look. Requires precise framing and drywall finishing.
10. Exposed Beam Look with Fan Between Beams
Install faux wood or MDF beams (3″–4″ tall) running parallel across the ceiling, spaced 3’–4′ apart. Mount the fan in the open space between two beams—never directly on a beam.
Adds rustic or modern character. Ensure beams don’t obstruct blade rotation (min 12″ clearance on all sides).
11. Fan-Integrated Light Cavity
Design a circular or square cavity (24″–36″ diameter) lowered 8″–10″, with the fan mounted so blades sit just below the cavity rim. Recessed downlights line the cavity walls.
Combines task lighting and airflow in one focal point. Best over beds or seating areas in larger bedrooms.
Common Mistakes and Fixes
- Mounting fan to drywall only
Fix: Always secure fan-rated junction box to a ceiling joist or support brace—not just drywall anchors. - Ignoring blade clearance
Fix: Measure from finished floor to blade—must be ≥7’6″. Adjust drop height accordingly. - Choosing oversized fans for small rooms
Fix: In rooms under 12’x12′, use fans 42″–48″ in diameter. Larger blades overwhelm tight spaces. - Blocking airflow with deep drops
Fix: Keep fan blades at least 18″ below ceiling surface—don’t bury them in a deep recess. - Skipping vibration testing
Fix: After install, run fan on high speed. If it wobbles, rebalance blades or check mounting stability.
Design with Airflow in Mind
A bedroom false ceiling with a fan should disappear into the background—cooling you without drawing attention.
Prioritize structural safety, proper blade height, and clean lines over ornamentation. The best design is the one you forget is there—until you need a breeze.
Which of these 11 ideas fits your room’s size and ceiling height? Start with clearance and support—then add style.