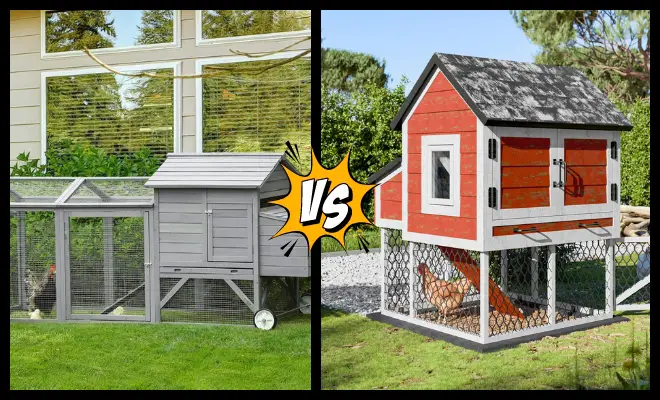
Free DIY Chicknic Table Plans: How to Build It?
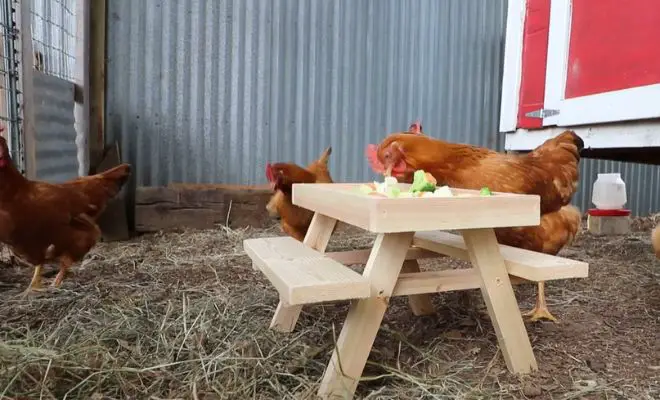
Making a tray with durable materials, I mean chicknic table is a gift for the flocks! But I bet many of you don’t know about it! Well, it provides a designated feeding area that keeps food clean and reduces waste.
So, how to make chicknic table? DIY Chicknic Table plans are surprisingly simple. Build a chicknic table with basic wood, screws, and a saw! Cut pieces for the tabletop, seats, and legs. Assemble the sides and top, and attach legs with screws and glue. Add seats with braces, and sand smooth, and enjoy watching your happy chickens dine!
Love to learn A to Z steps to build the chicken feeder picnic table? Let’s check out the steps to make your one in the backyard!
Table of Contents
What Is A Chicken Table In A Nutshell?
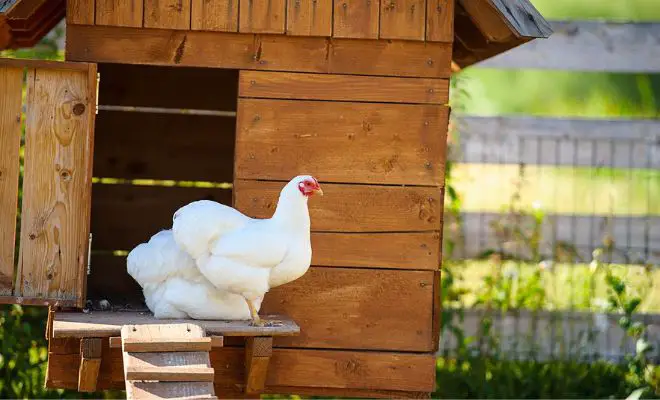
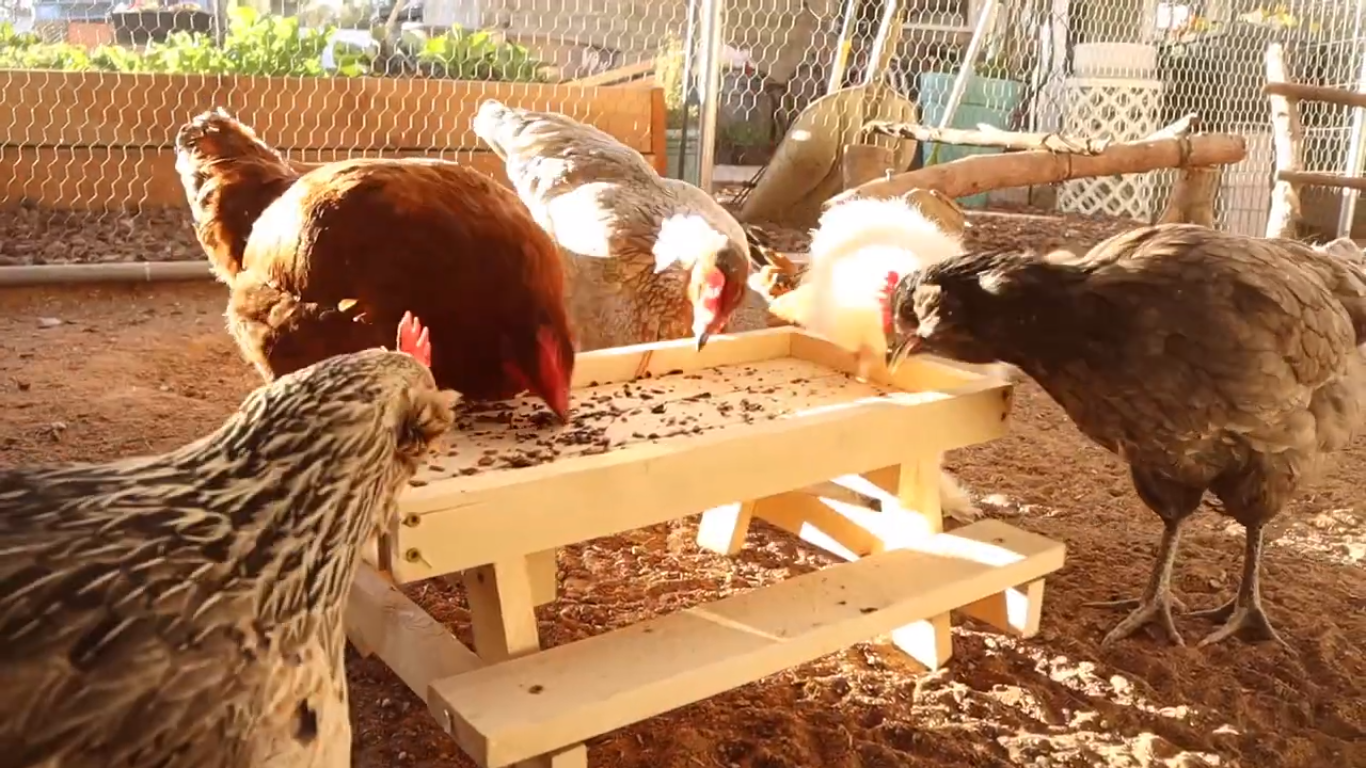
A chicken table, also called a chicknic table, is a miniature picnic table built specifically for chickens in their coop.
It provides a designated, elevated area for them to eat, keeping food cleaner and reducing waste. It’s a fun and functional DIY project that adds enrichment to your coop.
These little tables offer several benefits:
- Designated Dining Area: Chickens tend to scatter their food while pecking, leading to waste. A chicknic table provides a raised platform to keep food cleaner and easier for them to access.
- Reduced Waste: By having a designated area for eating, less food gets kicked around and wasted in the bedding.
- Entertainment Value: Watching your chickens peck and socialize around their own little table can be surprisingly entertaining.
- Stimulation: Chickens benefit from having interesting objects in their environment to keep them stimulated.
DIY Chicknic Table Plans: How to Make Chicknic Table?
With a DIY chicknic table, you can create a charming and functional addition to your coop. To build one, you need to have some essentials and basic knowledge.
However, let me guide you with all these things!
What are the Materials You Need for Chicknic Table?
To create a charming chicknic table, gather the following tools –
- Pine Board (1″x8″x8’): You’ll need this for the tabletop. You can find it at your local hardware store.
- Pine Board (1″x4″x8’): This material is essential for constructing the legs and other components of the chicknic table.
- Saw: A small hand saw or jigsaw will suffice for cutting the wood.
- Nails or Screws: Use these to assemble the table. Nails work well for rustic charm, while screws provide sturdiness.
- Hammer or Screwdriver: Depending on whether you choose nails or screws, have the appropriate tool on hand.
- Paint (Optional): If you’d like to add some flair, consider painting the chicken table.
You may also need –
- Drill & Drill Bits
- Sandpaper
- Wood Glue
- Saw and
- Treated lumber or reclaimed wood (Alternatively).
7 Step-by-step Process to Build Chicknic Table for Poultries
Now you’re done gathering all the materials to build a chicken table feeder. It’s time to follow the steps and guidelines to make it! Either you prefer a large chicknic table or a small one, the process will be the same.
Let’s begin!
#Step 1. Cutting the Lumber to Size
Cut the Pine Board (1″x8″x8’) to approximately 12 inches by 12 inches (30 cm by 30 cm) for the tabletop. Then, cut four pieces of the Pine Board (1″x4″x8’) for the legs. Each leg should be around 6 inches (15 cm) tall.
#Step 2. Assembling the Frame
Lay the tabletop piece flat.

Attach the legs to the corners of the tabletop using nails or screws. Make sure they are stable and level. Add two additional 1″x4″ pieces as cross braces underneath the tabletop for added support.
#Step 3. Attaching the Legs and Braces
Nail or screw the legs to the tabletop frame securely. Attach the cross braces between the legs to strengthen the structure. You can use glue if necessary.
#Step 4. Constructing the Tabletop and Seating Area
Cut additional 1″x4″ boards to create the seating area.
Attach them horizontally between the legs to form the benches. Space the seating boards evenly to create a comfortable sitting area for the chickens.
#Step 5. Installing the Hinges for the Lid
If you want to add a lid to the chicknic table, install hinges on one side of the tabletop. The lid can be hinged at the back or the side, allowing easy access to the interior.
#Step 6. Adding Finishing Touches
Sand any rough edges to make the table safe for chickens. Paint the chicknic table in cheerful colors (use non-toxic paint). Seal the wood with an outdoor wood sealer to protect it from the elements.
#Step 7. Placement

Find a cozy spot in your chicken coop or yard. Place the chicknic table there and scatter some grains or treats on it.
See the video to get more ideas to build a chicknic table.
Store-bought Chicknic Table: What to Consider?
If you’re not keen on DIY projects, you can easily find ready-made chicknic tables at stores or online. Here’s what you should know before getting one.
Where to Find?
Look online for poultry supply stores or search terms like “chicknic table” or “chicken feeder table.” Larger pet stores might also carry pre-built chicknic tables.
Advantages of Buying Chicken Table?
Store-bought tables save you time and effort as they come ready to use. You can find different designs and features to suit your preferences.
What to Consider?
Check the price! Prices vary based on size, material, and features, so compare options. Pick a table that fits your coop and meets your chickens’ needs.
Also, choose tables made from sturdy, weather-resistant materials. And ensure the table is stable and free of hazards for your chickens.
Related Articles:
FAQs
Want to learn more about chicknic table? Here are some additional queries!
Q. What are the dimensions of a chicknic table?
No set size, find plans online for one that suits your coop. Or, follow the guidelines I shared. It comes out of the general point of view.
Q. How can I make a chicknic table more durable?
Use treated lumber, add wood glue for strong joints, and consider a weatherproof sealant.
Q. What is the optimal height for a chicknic table?
Aim for 6-12 inches tall, allowing easy access for your chickens.
Q. Do I need a lid for the chicknic table?
Not necessarily, but a lid can help keep food cleaner and deter pests. It’s an optional feature in many chicknic table plans.
Final Word
So, why not craft a chicknic table for your feathered buddies? It’s more than just a DIY project! It’s a way to organize your chicken coop more while keeping the dining area clean and organized.
Plus, imagine the joy it’ll bring to see your chickens pecking away happily at their very own table! Whether you’re up for some hands-on woodworking or buying one, your chickens will surely appreciate it! I would suggest to make one for them!